09、Spring Security 速成 - 理解HTTP Basic 和基于表单的登陆身份验证
一、前言
到目前为止,我们只使用了HTTP Nasic作为身份验证方法,它的身份验证方法很简单,我们前面的例子也拿他用于示例和演示,是一个非常不错的选择。但是出于同样的原因,它可能并不适合我们需要实现的所有现实场景。
本节将介绍与HTTP Basic相关的更多配置。此外,还将探究一种名为FormLogin的新身份验证方法。
二、使用和配置HTTP Basic
HTTP Basic身份验证提供的默认值就非常够用了。但是在更复杂的应用程序中,你可能会发现需要自定义其中一些设置。例如,我们可能想为身份验证过程失败的情况实现特定的逻辑。
首先我们来看一下如何设置HTTP Basic:
我们在我们的配置类通过扩展configure()设置HTTP Basic身份验证
@Override
protected void configure(HttpSecurity http) throws Exception {


    http
   .httpBasic();
}
就这样几行代码就可以开启HTTP Basic身份验证,但是我们可以在其基础上对其追加配置,我们可以通过使用Customizer自定义失败身份验证的响应。如果在身份验证失败的情况下,系统的客户期望响应中有特定的内容,就需要这样做。我们可能需要添加或删除一个或多个头信息。或者可以使用一些逻辑来过滤主体信息,以确保应用程序不会向客户端公开任何敏感数据。
为了自定义失败身份验证的响应,可以实现AuthenticationEntryPoint。它的commence()方法会接收HttpServletRequest\HttpServletResponse和导致身份验证失败的AuthenticationException。如下代码我们就展示了如何实现AuthenticationEntryPoint的方法,该方法会向响应添加一个头信息,并将HTTP状态设置为401 Unauthorized.
import org.springframework.http.HttpStatus;
import org.springframework.security.core.AuthenticationException;
import org.springframework.security.web.AuthenticationEntryPoint;
import org.springframework.stereotype.Component;

import javax.servlet.ServletException;
import javax.servlet.http.HttpServletRequest;
import javax.servlet.http.HttpServletResponse;
import java.io.IOException;

@Component
public class CustomEntryPoint implements AuthenticationEntryPoint {


	@Override
	public void commence(HttpServletRequest request,
						 HttpServletResponse response,
						 AuthenticationException authException) throws IOException, ServletException {


		response.addHeader("message","LiuQing I'm your father");
		response.sendError(HttpStatus.UNAUTHORIZED.value());

	}
}
在身份验证失败时,AuthenticationEntryPoint接口的名称并没有反映其使用情况,这有点含糊不清。在Spring Security架构中,它由名称为ExceptionTranslationManager的组件直接使用,该组件会处理过滤链中抛出的任何AccessDeniedException和AuthenticationException异常。可以将ExceptionTranslationManager看作Java异常和HTTP响应之间的桥梁。
然后可以使用配置类中的HTTP Basic方法注册CustomEntryPoint.如下代码展示了自定义入口点的配置类:
@Configuration
@RequiredArgsConstructor
@EnableAsync
public class SpringSecurityConfig extends WebSecurityConfigurerAdapter {


private final CustomEntryPoint customEntryPoint;

@Override
protected void configure(HttpSecurity http) throws Exception {


            http.httpBasic(c->c.authenticationEntryPoint(customEntryPoint));
}
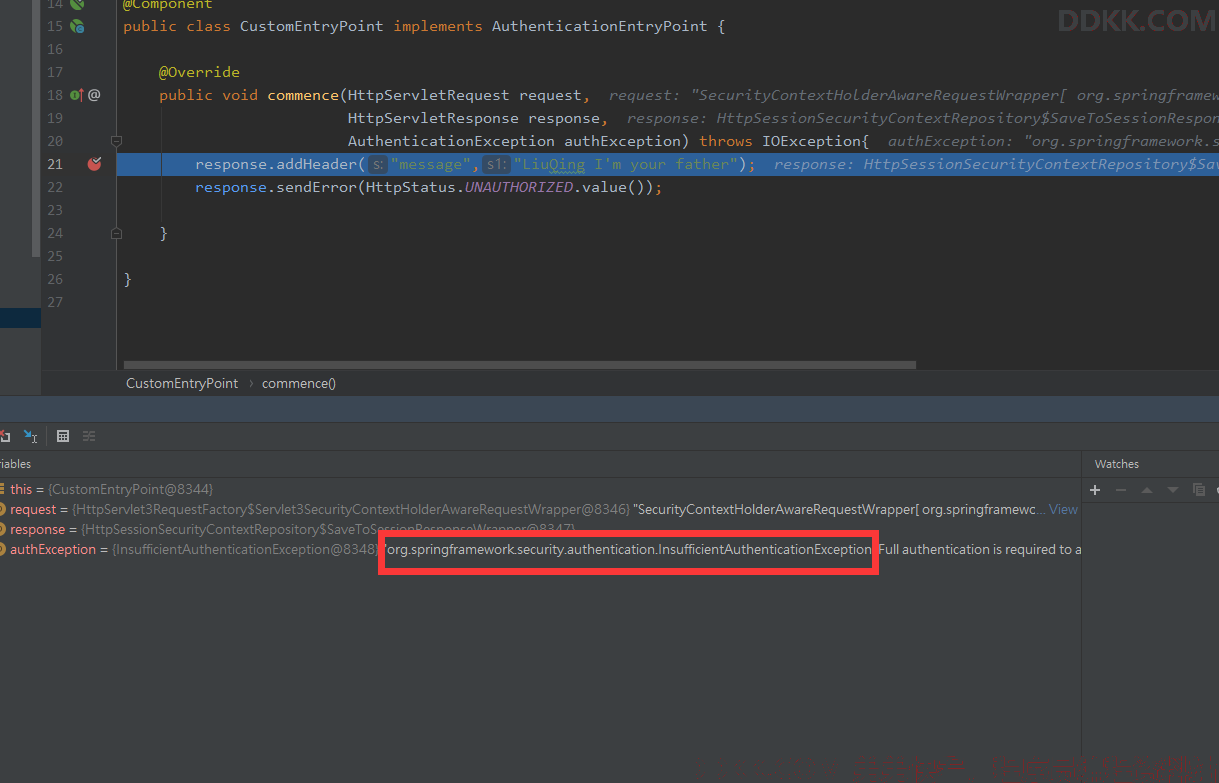
你会发现这种配置方式当你请求失败导致401时,例如密码错误,由于HttpBasic会识别你的错误方式导致抛出两次异常,第一个是因为你的错误请求原因抛出的异常,例如密码错误就是org.springframework.security.authentication.BadCredentialsException: Bad credentials

然后再次抛出认证异常,因为我们没有认证通过所以访问不了资源。
org.springframework.security.authentication.InsufficientAuthenticationException: Full authentication is required to access this resource

该异常和上面的BadCredentialsException均实现了AuthenticationException,ExceptionTranslationManager均会处理这两个异常,所以你会发现请求头被重复添加了两次:
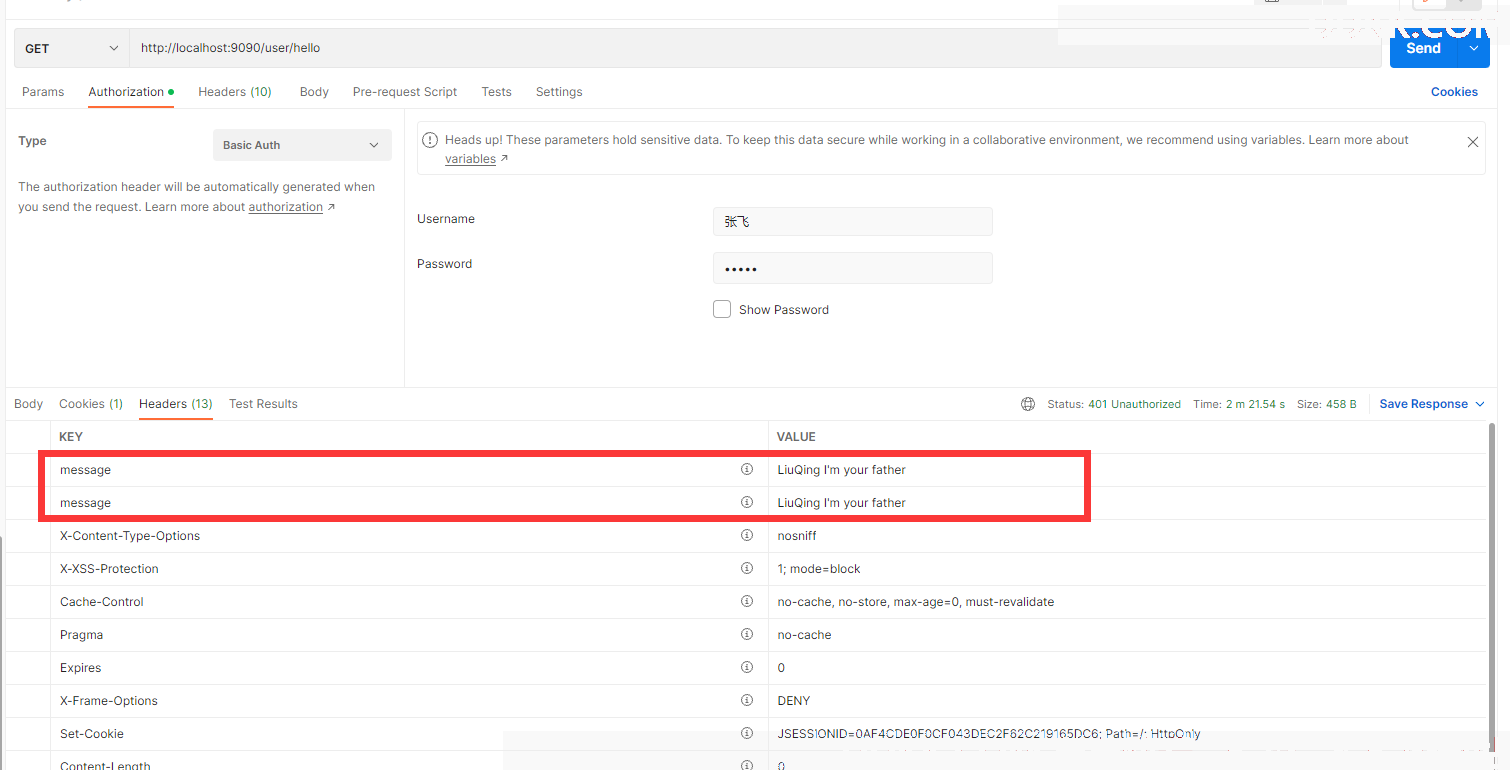
这样显然是不对的,所以我们可以使用另一种处理方式,既然HTTP Basic会连续抛出两次异常,那我就不再Http Basic里配置,我将其抽出作为认证异常的统一处理,代码如下:
@Configuration
@RequiredArgsConstructor
@EnableAsync
public class SpringSecurityConfig extends WebSecurityConfigurerAdapter {


private final CustomEntryPoint customEntryPoint;

@Override
protected void configure(HttpSecurity http) throws Exception {


            http.httpBasic();
            http.exceptionHandling().authenticationEntryPoint(customEntryPoint).and()
            .authorizeRequests()
            .anyRequest().authenticated();
            }
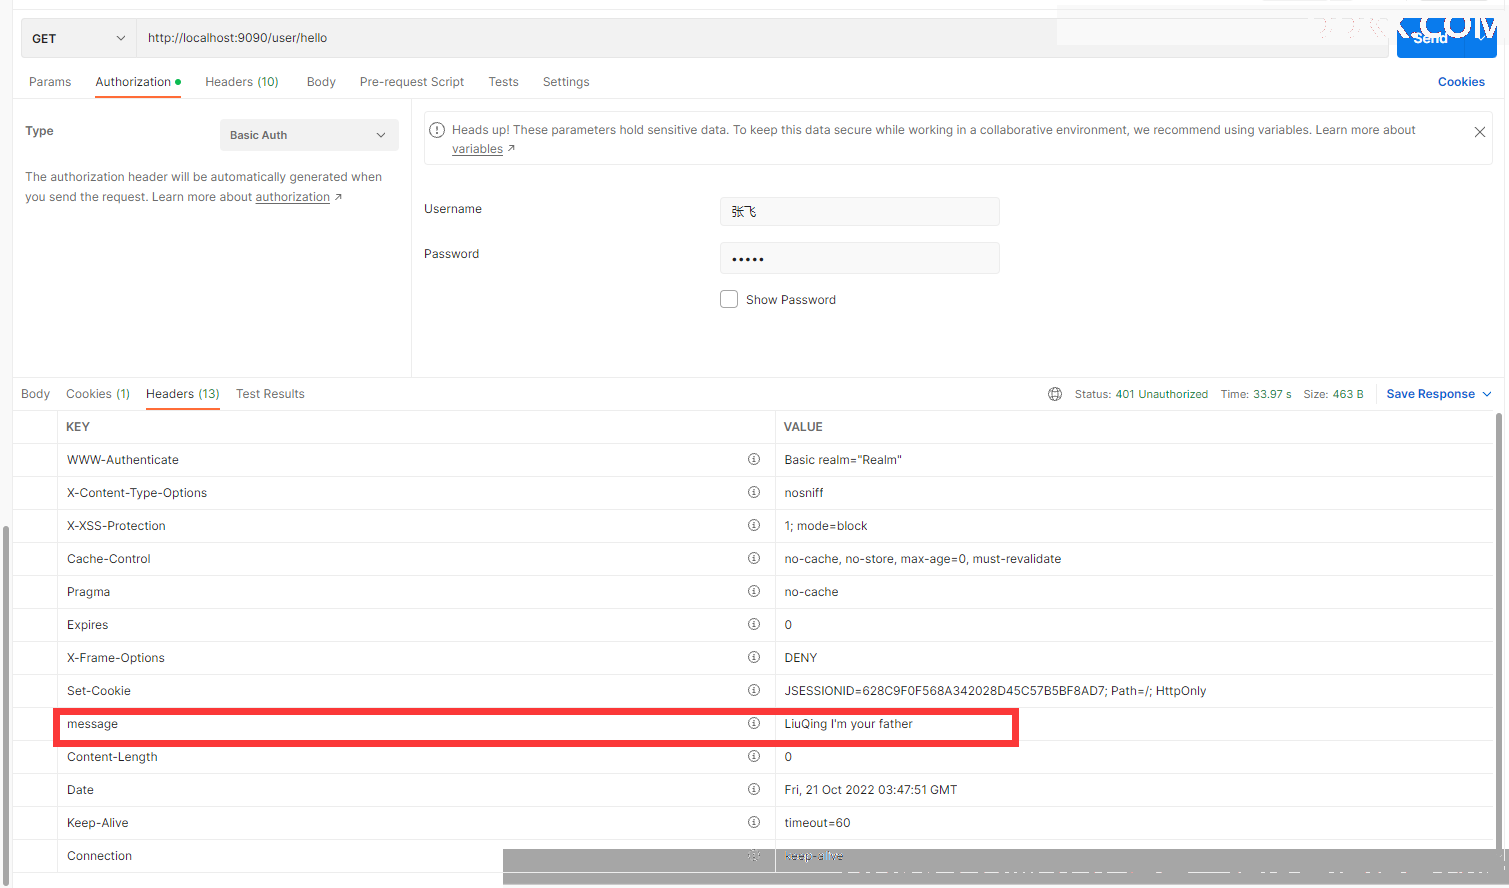
再次运行,你会发现只抛出了org.springframework.security.authentication.InsufficientAuthenticationException
然后被ExceptionTranslationManager处理,entryPoint当然也就只处理了一次,所以最后只添加了一次请求头。
当然这只是作者的解决方式,这种解决方法算是有点跑题,毕竟我们初衷是为了在Http Basic内部配置,如果大家有更好的解决方法可以在评论区分享。
三、使用基于表单的登录实现身份验证
在开发Web应用程序时,我们可能希望提供一个对用户友好的登陆表单,用户可以在其中输入他们的凭据。同样,我们可能希望通过身份验证的用户能够在登录后浏览Web页面并能够注销。对于小型Web应用程序,可以利用基于表单的登陆方法,但是对于需要水平可伸缩的大型应用程序而言,使用服务器端会话管理安全上下文是不可取的,这个在我们后面学习OAuth时会详细讨论这方面内容。
回到正题,我们先看下下图通过表单登录的主要流程图:
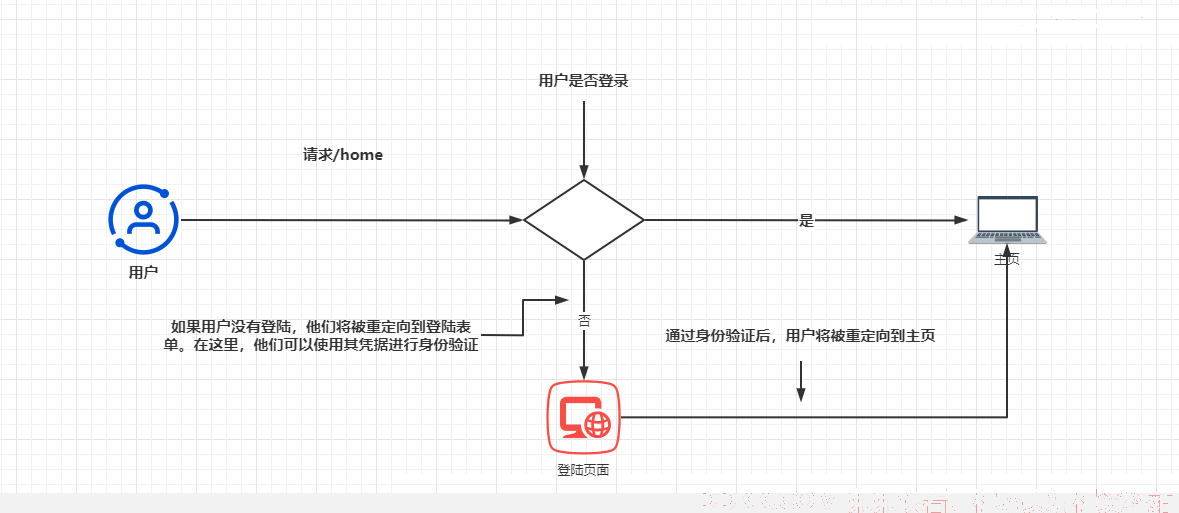
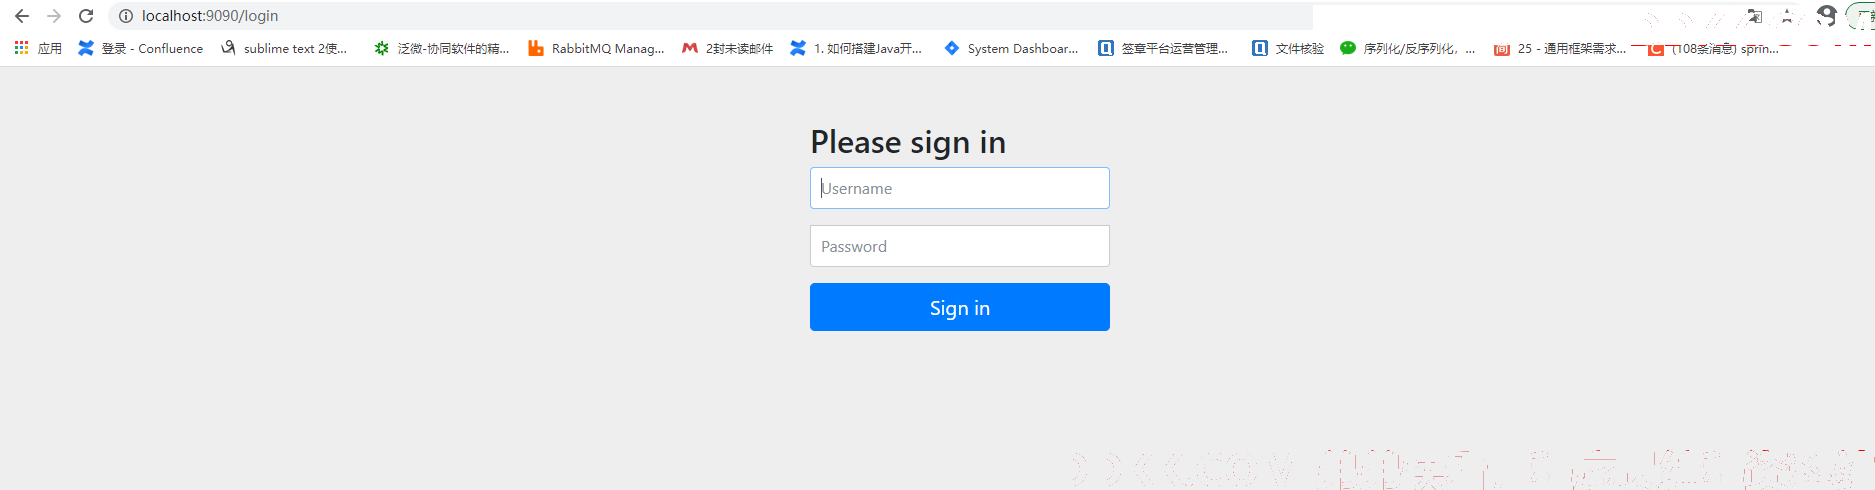
在使用Spring Security自己最基础的表单登录之前,记得先将之前配置过的entryPoint的代码给注释下,否则打不开Spring Security为我们提供的登录页面。目前登录路径我们先不由我们自己决定,我们先使用Spring Security为我们提供的页面。要将身份验证方法更改为基于表单的登录,可以在配置类的configure(HttpSecurity http)方法而非httpBasic()中,调用HttpSecurity参数的formLogin()方法。代码如下:
@Override
protected void configure(HttpSecurity http) throws Exception {


//开启formlogin也可同时开启httpBasic身份验证
http.httpBasic();
http.exceptionHandling().authenticationEntryPoint(customEntryPoint).and()
.formLogin()
.and()
.authorizeRequests()
.anyRequest().authenticated();
}
启动应用程序并且现在访问我们一个接口,会发现它将我们重定向到一个登陆页面
只要没注册UserDetailsService,就可以使用所提供的默认凭据进行登录。即之前提到过的user和那串控制台的UUID。
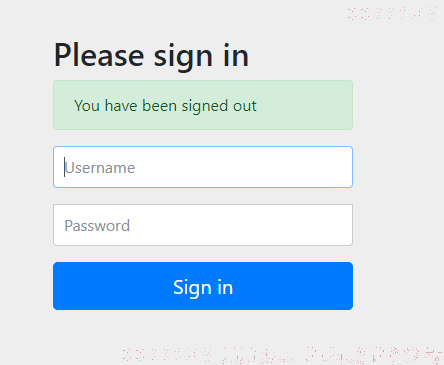
然后我们可以访问/logout路径,则SpringSecurity会将我们重定向到注销页面
尝试在未登录的情况下访问路径后,用户将被自动重定向到登录页面。成功登录后,应用程序会将用户重定向回他们最初试图访问的路径。如果该路径不存在,应用程序将显示一个默认错误页面,该页面是error.html。
formLogin()方法会返回类型为FormLoginConfigurer< HttpSecurity>的对象,该对象允许我们进行自定义。例如,可以通过调用defaultSuccessUrl()方法来实现这一点,如下代码:
首先我们定义一个Controller,注意注解不是@RestController,而是@Controller,因为我们需要重定向到一个页面。
@Controller
public class HomeController {


	@GetMapping("/home")
	public String home(){


		return "home";
	}
}
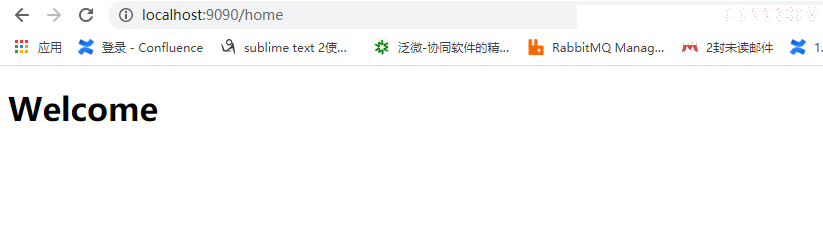
然后准备该主页:
<!DOCTYPE html>
<html lang="en">
<head>
    <meta charset="UTF-8">
    <title>Title</title>
</head>
<body>
<h1>Welcome</h1>
</body>
</html>
然后在配置类中配置登陆成功自动重定向的成功页面:
 @Override
protected void configure(HttpSecurity http) throws Exception {


//开启formlogin也可同时开启httpBasic身份验证
http.httpBasic();
http.exceptionHandling().authenticationEntryPoint(customEntryPoint).and()
.formLogin()
.defaultSuccessUrl("/home",true)
.and()
.authorizeRequests()
.anyRequest().authenticated();
}
然后我们访问localhost:9090/login,登陆成功后发现自动重定向到home.html:
如果需要就此进行更深入的处理,可以使用AuthenticationSuccessHandler和AuthenticationFailureHandler对象所提供的更详细的自定义方法。这两个接口允许实现一个对象,通过该对象可以应用为身份验证而执行的逻辑。
如果希望自定义成功身份验证的逻辑,则可以自定义AuthenticationSuccessHandler.onAuthenticationSuccess()方法会接收servlet请求、servlet响应和Authentication对象作为参数。这一点在后面学习jwt我们常常会在这个类对我们的token作相关处理,所以这个类是很重要的。具有非常大的灵活性,但是我们目前只是举一个例子:
例如下面该类认证成功后验证用户所拥有的权限是否有read权限,然后做出相应的接口调用
@Component
@Slf4j
public class CommonLoginSuccessHandler implements AuthenticationSuccessHandler {
@Override
public void onAuthenticationSuccess(HttpServletRequest request,
HttpServletResponse response,
Authentication authentication) throws IOException, ServletException {
Collection<? extends GrantedAuthority> authorities = authentication.getAuthorities();
Optional<? extends GrantedAuthority> auth = authorities.stream().filter(a -> a.getAuthority().equals("read")).findFirst();
if(auth.isPresent()){
log.info("您有足够的权限访问此资源");
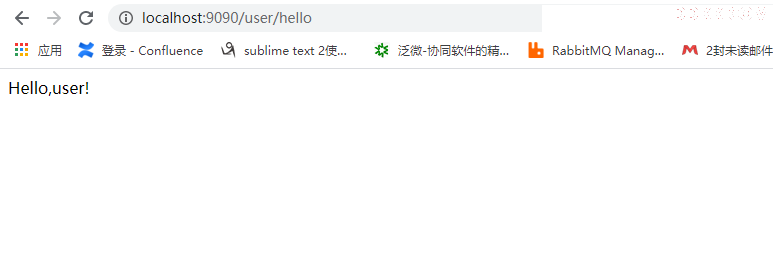
response.sendRedirect("/user/hello");
}else {
log.info("您没有足够的权限访问此资源");
response.sendRedirect("/user/error");
}
}
}
然后既然有AuthenticationSuccessHandler,自然有对应的AuthenticationFailureHandler,对于这个Handler,我们也仍然是简单的打印一句话然后增加一个请求头:
import lombok.extern.slf4j.Slf4j;
import org.springframework.security.core.AuthenticationException;
import org.springframework.security.web.authentication.AuthenticationFailureHandler;
import org.springframework.stereotype.Component;

import javax.servlet.ServletException;
import javax.servlet.http.HttpServletRequest;
import javax.servlet.http.HttpServletResponse;
import java.io.IOException;
import java.time.LocalDateTime;

@Component
@Slf4j
public class CommonLoginFailureHandler implements AuthenticationFailureHandler {


	@Override
	public void onAuthenticationFailure(HttpServletRequest request,
										HttpServletResponse response,
										AuthenticationException exception) throws IOException, ServletException {


		log.warn("认证失败");
		response.setHeader("failed", LocalDateTime.now().toString());

	}
}
然后将它们通过@Component交由Spring管理并在配置类注入并配置它们
@Configuration
@RequiredArgsConstructor
@EnableAsync
public class SpringSecurityConfig extends WebSecurityConfigurerAdapter {


	private final UserDetailsServiceImpl commonUserDetailServiceImpl;
	private final CustomEntryPoint customEntryPoint;
	private final CommonLoginSuccessHandler successHandler;
	private final CommonLoginFailureHandler failureHandler;

	@Override
	protected void configure(HttpSecurity http) throws Exception {


		http.csrf().disable()
                .logout()
                .and()
				.formLogin()
				.successHandler(successHandler)
				.failureHandler(failureHandler)
				.and()
				.exceptionHandling().authenticationEntryPoint(customEntryPoint).and()
				.httpBasic().and()
				.authorizeRequests()
				// 登录、验证码允许匿名访问
				.anyRequest().authenticated();
	}

	@Override
	protected void configure(AuthenticationManagerBuilder auth) throws Exception {


		auth.userDetailsService(commonUserDetailServiceImpl)
				.passwordEncoder(passwordEncoder());
	}
	@Bean
	public PasswordEncoder passwordEncoder() {


		HashMap<String, PasswordEncoder> encoders = new HashMap<>();
		encoders.put("noop", NoOpPasswordEncoder.getInstance());
		encoders.put("bcrypt", new BCryptPasswordEncoder());
		encoders.put("scrypt", new SCryptPasswordEncoder());
		return new DelegatingPasswordEncoder("bcrypt", encoders);
	}
然后分别尝试认证成功和认证失败:
首先认证成功有read权限:
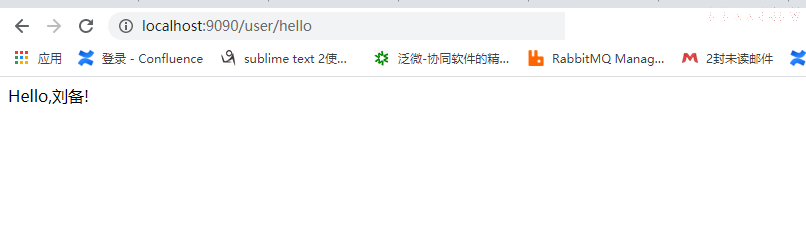
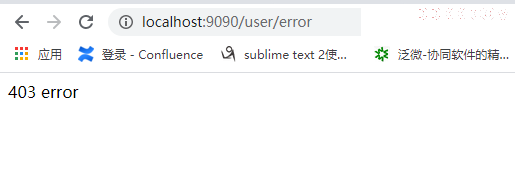
 然后是认证成功但是没有read权限:

最后是认证失败:
打开F12我们可以看到我们追加的回应头
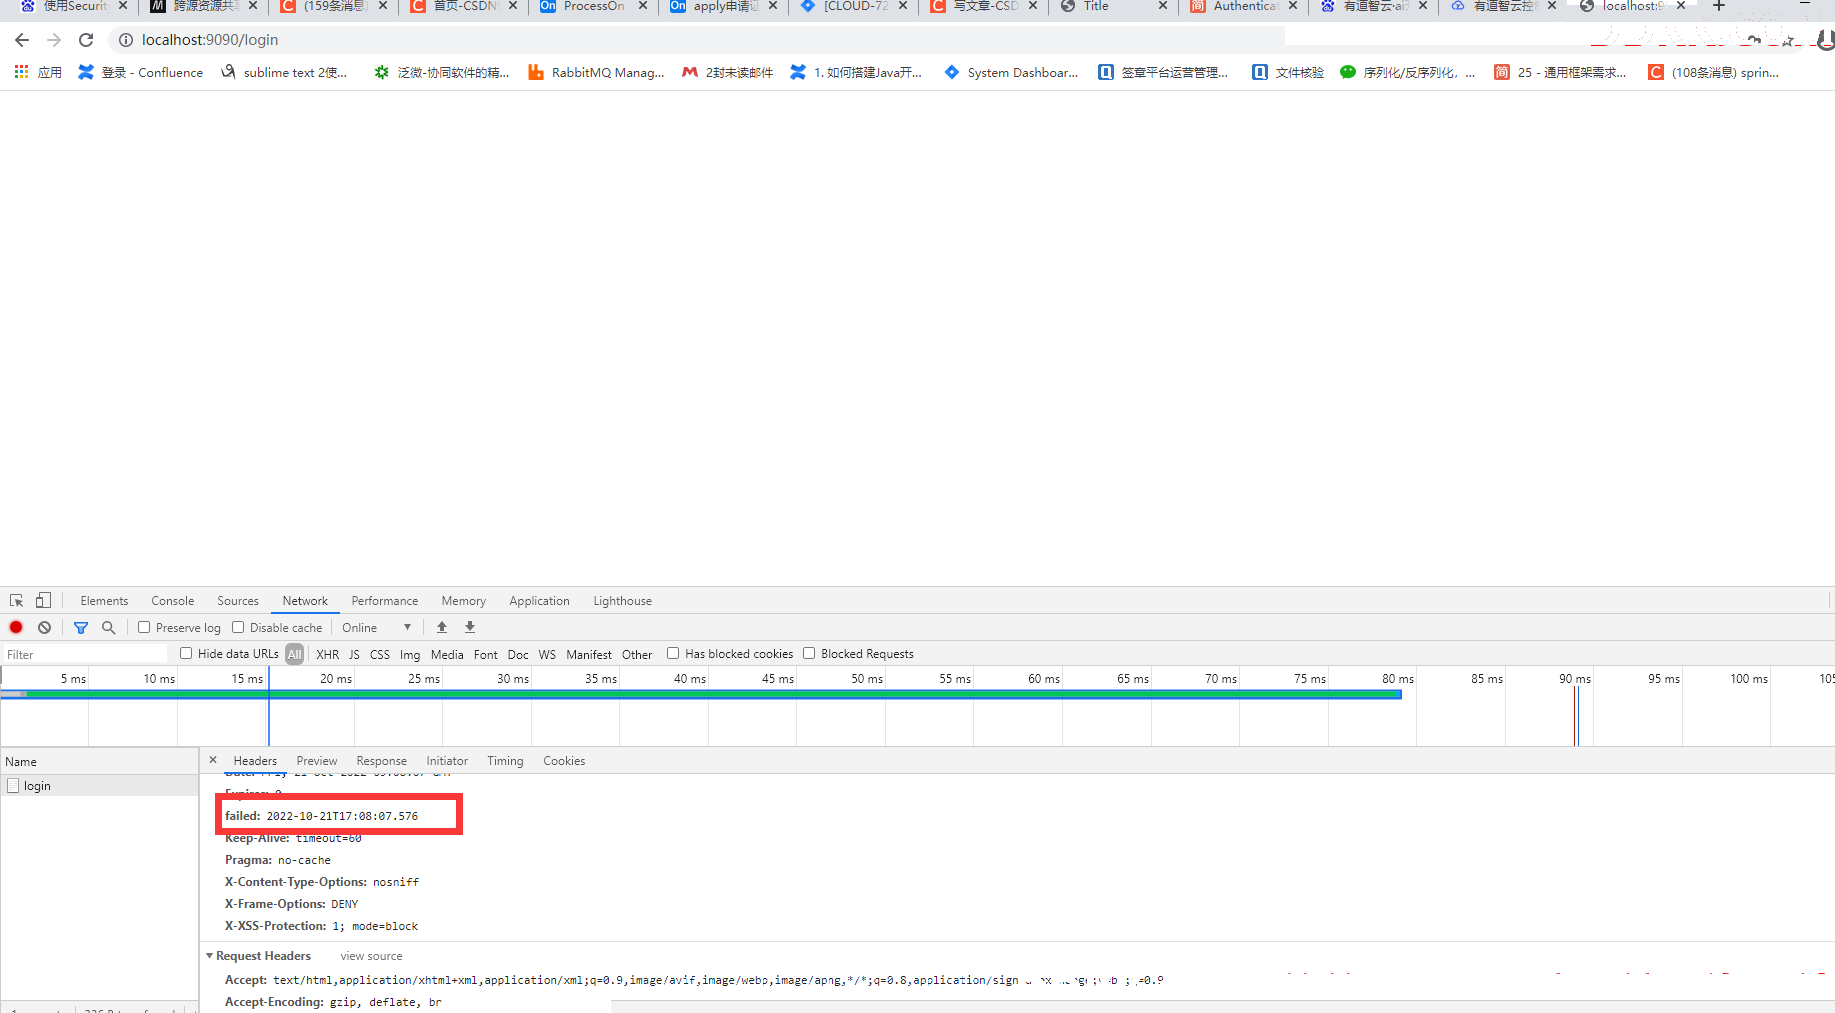
日志中也有认证失败:

那么至此basic和formLogin我们差不多有了一个大概的认识,后面我们会在前后端分离中去深入了解。这一节动手的比较多,大家可以自己实践一下,碰到bug可以自己先尝试解决。细心的朋友可能发现我的userDetailsService换了个类,这是我为后面的权限做了一个全新的模块,我想的是将业务的User和UserDetailsService给分离开来,我们在实际开发更多的场景也是如此,所以从下一章开始我将会重新带着大家布置一个新模块。