31、Kubernetes 实战 - kubeasz安装三主两从高可用集群
前言
使用kubeadm或者二进制直接搭建k8s集群非常麻烦,如何简答而快速的搭建k8s高可用集群?
kubeasz 官方地址: https://github.com/easzlab/kubeasz
高可用集群架构
如果k8s集群中,属于一主多从,那么当master节点宕机后,服务将不可用。

上面的高可用集群有两个worker node,三个master node,两个负载均衡服务器,三个etcd数据库。
主机规划
| 类型 | IP | 系统信息 | 配置 |
|---|---|---|---|
| master01 | 192.168.88.23 | Centos 7.9.2009 | 2核1G 50G磁盘 |
| master02 | 192.168.88.24 | Centos 7.9.2009 | 2核1G 50G磁盘 |
| master03 | 192.168.88.25 | Centos 7.9.2009 | 2核1G 50G磁盘 |
| node1 | 192.168.88.26 | Centos 7.9.2009 | 2核1G 50G磁盘 |
| node2 | 192.168.88.27 | Centos 7.9.2009 | 2核1G 50G磁盘 |
| lb01 | 192.168.88.21 | Centos 7.9.2009 | 2核1G 50G磁盘 |
| lb02 | 192.168.88.22 | Centos 7.9.2009 | 2核1G 50G磁盘 |
| etcd1 | 192.168.88.23 | Centos 7.9.2009 | 2核1G 50G磁盘 |
| etcd2 | 192.168.88.24 | Centos 7.9.2009 | 2核1G 50G磁盘 |
| etcd3 | 192.168.88.25 | Centos 7.9.2009 | 2核1G 50G磁盘 |
注意: etcd数据库需要是奇数个,1,3,5,…,如果是生成环境建议不少不低于3个。这里etcd复用了master机器。
服务器的安装过程: 请见vmware安装centos7并制作多副本
ansible部署k8s集群
可以在master或者集群外的一台机器上操作,需要该主机到所有其它主机的免密登录,
1、 配置ssh免密码登录,需要从操作机到集群其它机器的免密登录;
请见:如何配置ssh免密登录
2、 安装ansible;
yum install epel-release -y
yum install ansible -y
1、 下载ezdown;
export release=3.1.0
# 国外地址(由于网络原因,可能需要多次尝试才能下载成功)
curl -C- -fLO --retry 3 https://github.com/easzlab/kubeasz/releases/download/${release}/ezdown
# 国内地址 (国内下载地址,不会失败)
curl -C- -fLO --retry 3 https://github.91chi.fun//https://github.com/easzlab/kubeasz/releases/download/${release}/ezdown
# 修改文件的执行权限
chmod +x ezdown
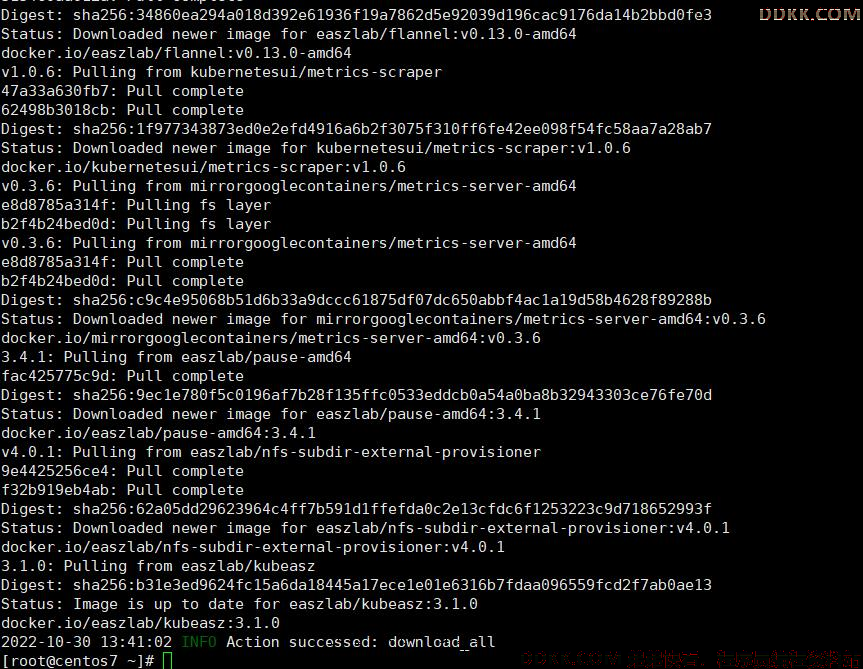
# ezdown执行下载文件(根据网络情况,下载可能需要几分钟)
./ezdown -D
1、 创建k8s集群,并修改配置文件;
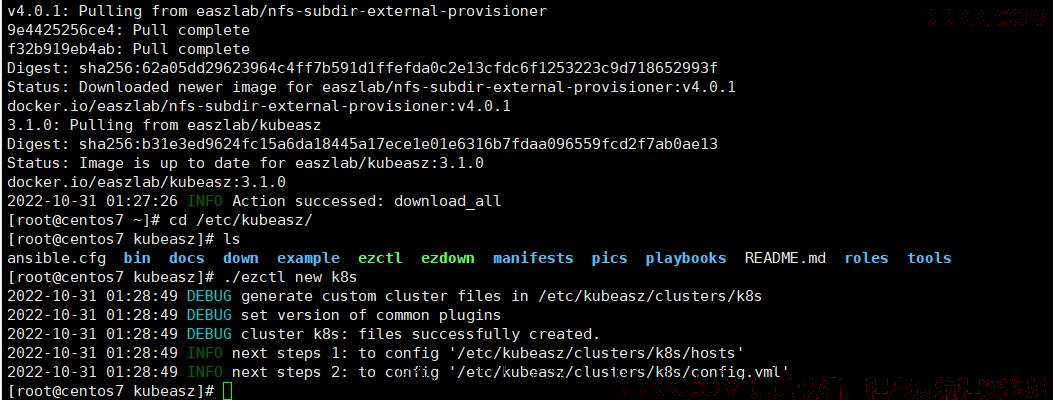
# 切换目录
cd /etc/kubeasz/

# 创建一个集群,名称为k8s
./ezctl new k8s
1、 修改/etc/kubeasz/clusters/k8s/hosts文件;
vim /etc/kubeasz/clusters/k8s/hosts
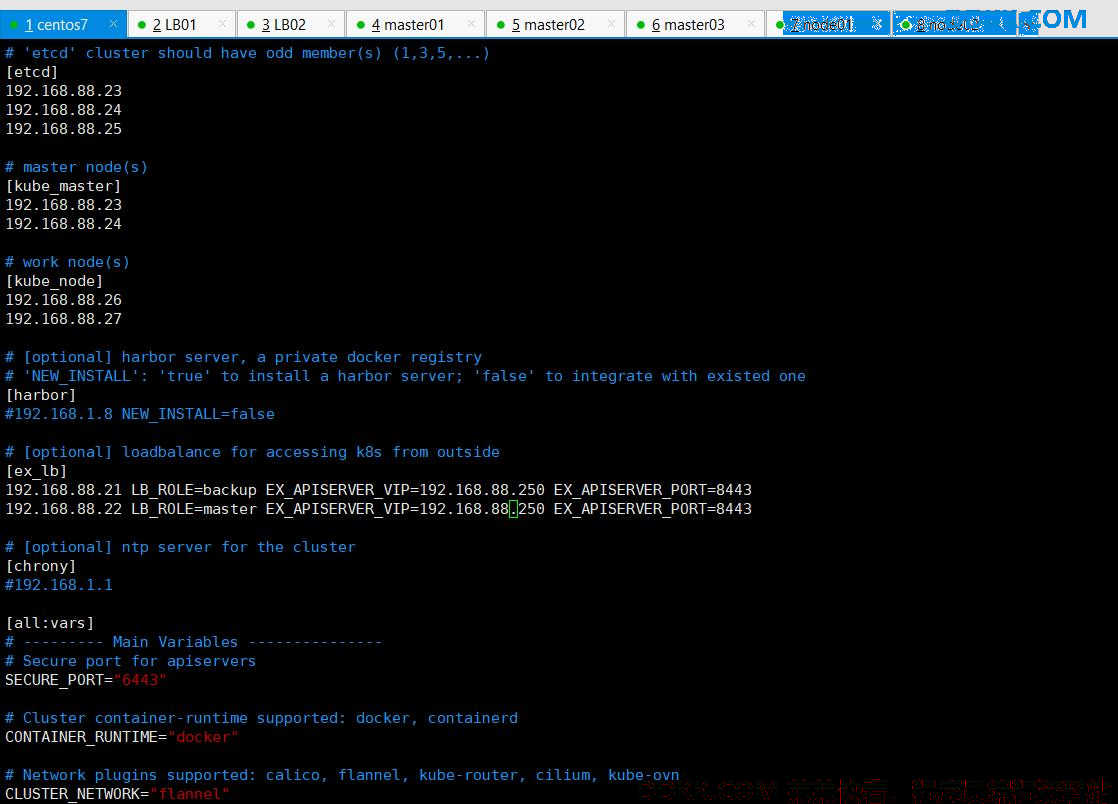
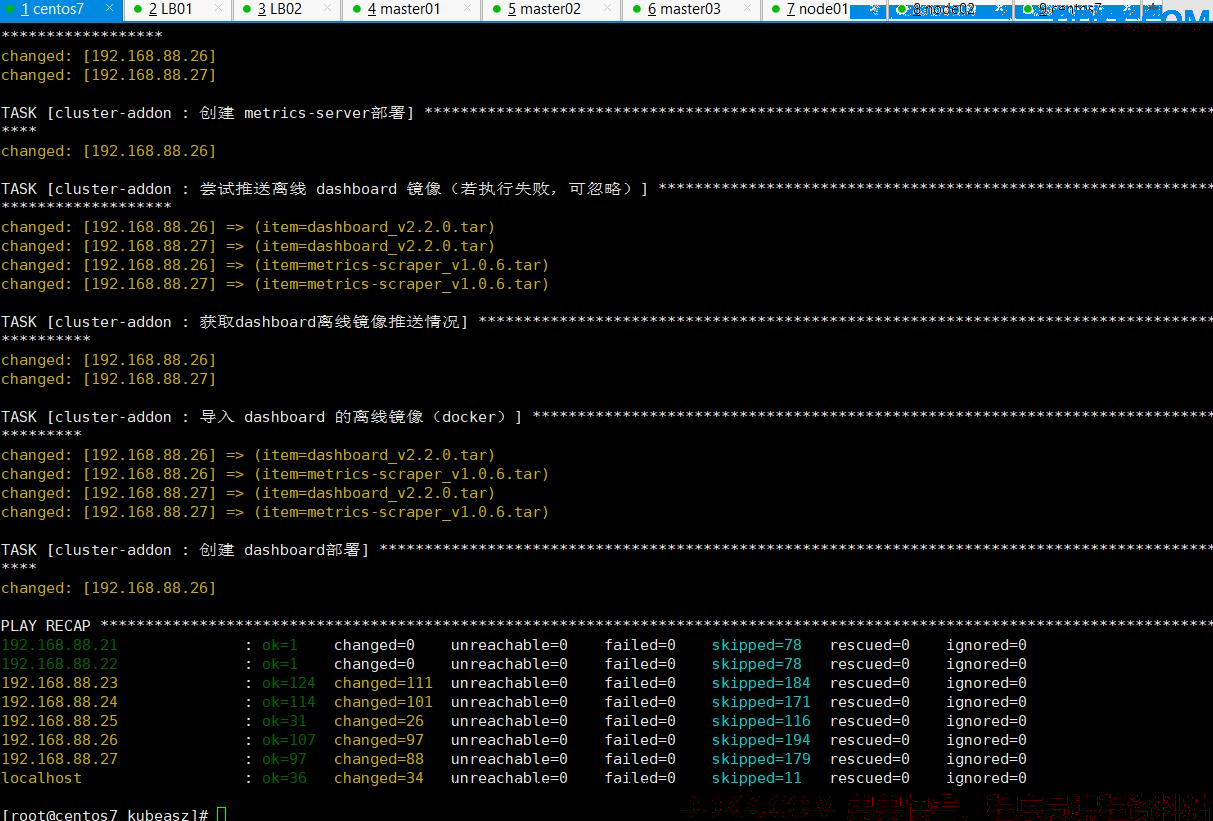
6、 执行集群安装,安装完成后如下;
# 执行安装,这个过程根据网络和服务器的速度而定,可能需要30分钟左右
./ezctl setup k8s-01 all
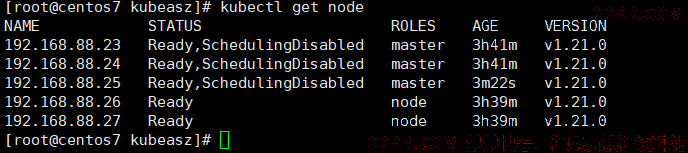
7、 查看节点信息;
kubectl get node

服务部署测试
1、 创建deployment.yaml,内容如下;
apiVersion: apps/v1  版本号
kind: Deployment   类型
metadata:  元数据
  name: pc-deployment   rs名称
  namespace: dev  所属命名空间
spec: 详情
  replicas: 3副本数量3
  selector:选择器,通过它指定该控制器管理哪些pod
    matchLabels:labels匹配规则,用于匹配template
      app: nginx-pod
  template: 模板,当副本数量不足时,会根据模板创建pod副本
    metadata:
      labels:
        app: nginx-pod
    spec:
      containers:
        - name: nginx
          image: nginx:1.17.1
          ports:
            - containerPort: 80
创建deployment
[root@centos7 home]# vim deployment.yaml
[root@centos7 home]# kubectl create -f deployment.yaml
deployment.apps/pc-deployment created
[root@centos7 home]# kubectl get pods -n dev -o wide
NAME                             READY   STATUS              RESTARTS   AGE   IP           NODE            NOMINATED NODE   READINESS GATES
nginx                            1/1     Running             0          63m   172.20.2.5   192.168.88.27   <none>           <none>
pc-deployment-5ffc5bf56c-5t4d6   1/1     Running             0          13s   172.20.2.6   192.168.88.27   <none>           <none>
pc-deployment-5ffc5bf56c-dc9z4   0/1     ContainerCreating   0          13s   <none>       192.168.88.26   <none>           <none>
pc-deployment-5ffc5bf56c-h768h   0/1     ContainerCreating   0          13s   <none>       192.168.88.26   <none>           <none>
[root@centos7 home]# kubectl get pods -n dev -o wide
NAME                             READY   STATUS    RESTARTS   AGE   IP           NODE            NOMINATED NODE   READINESS GATES
nginx                            1/1     Running   0          63m   172.20.2.5   192.168.88.27   <none>           <none>
pc-deployment-5ffc5bf56c-5t4d6   1/1     Running   0          31s   172.20.2.6   192.168.88.27   <none>           <none>
pc-deployment-5ffc5bf56c-dc9z4   1/1     Running   0          31s   172.20.3.5   192.168.88.26   <none>           <none>
pc-deployment-5ffc5bf56c-h768h   1/1     Running   0          31s   172.20.3.4   192.168.88.26   <none>           <none>
1、 创建service-nodeport.yaml,内容如下;
apiVersion: v1  版本号
kind: Service   类型
metadata:  元数据
  name: service-nodeport   svc名称
  namespace: dev  所属命名空间
spec: 详情
  selector:选择器,通过它指定该控制器管理哪些pod
    app: nginx-pod
  type: NodePort
  ports:
    - port: 80   Service端口
      nodePort: 30002指定绑定的node的端口(默认的取值范围是30000~32767),如果不指定,会默认分配
      targetPort: 80pod端口
创建service
[root@centos7 home]# kubectl create -f service-nodeport.yaml
service/service-nodeport created
[root@centos7 home]# kubectl get svc -n dev -o wide
NAME               TYPE       CLUSTER-IP     EXTERNAL-IP   PORT(S)        AGE   SELECTOR
service-nodeport   NodePort   10.68.244.39   <none>        80:30002/TCP   12s   app=nginx-pod
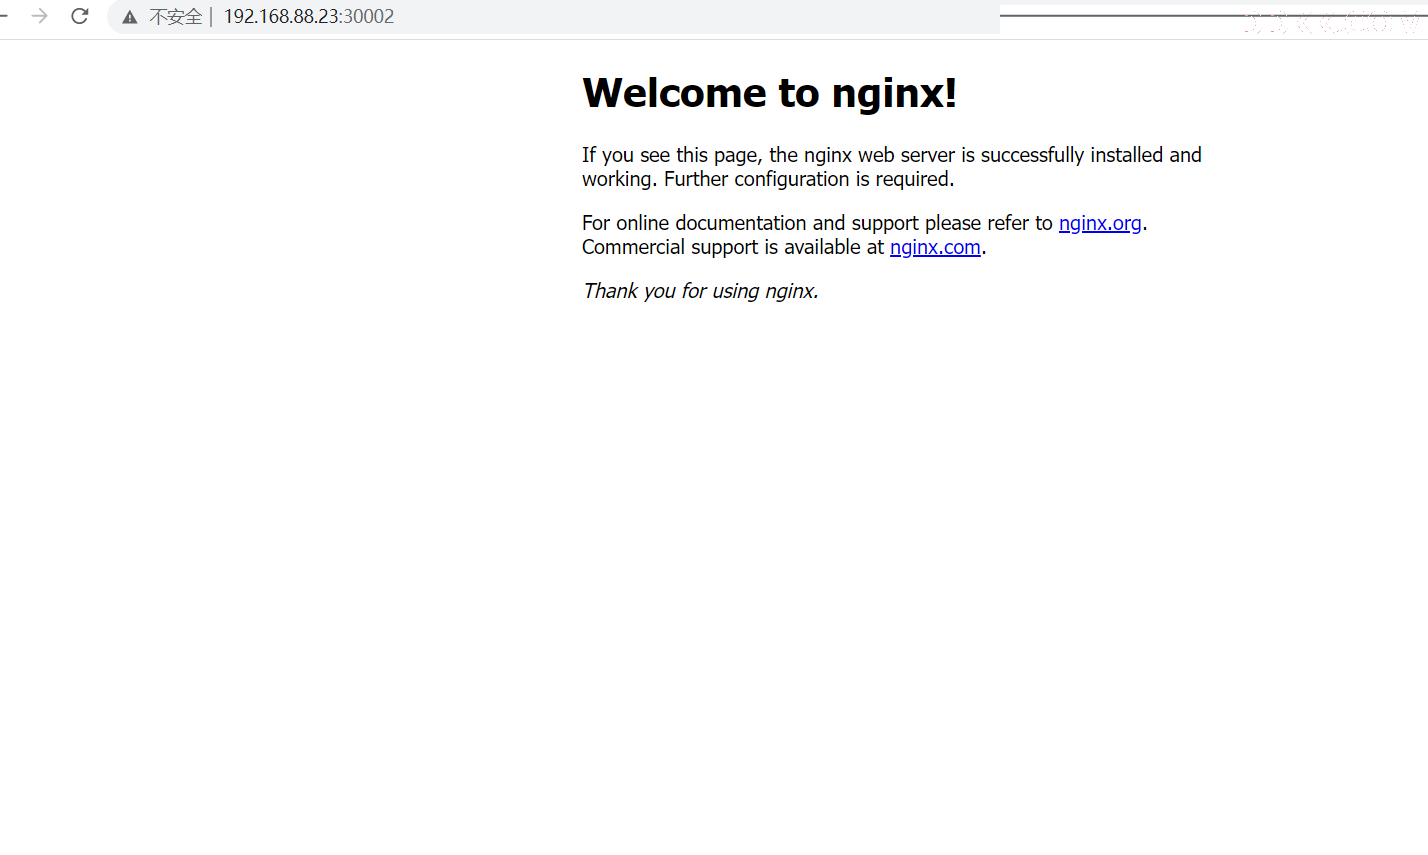
1、 打开浏览器访问,可以看到部署的nginx可以被访问到;
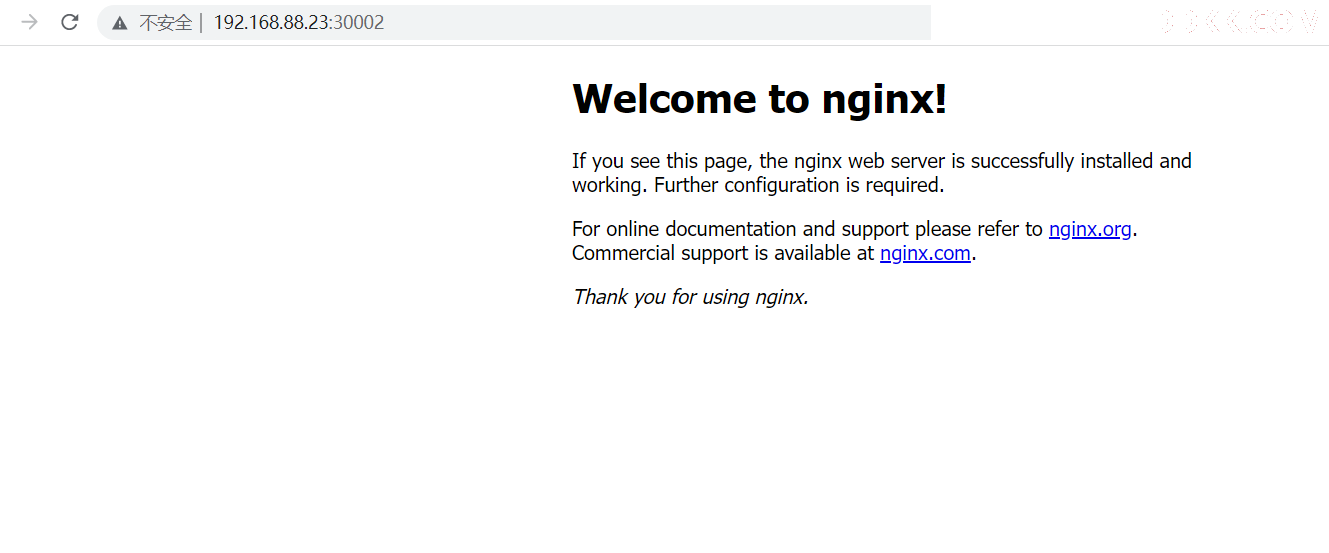
 2、 宕机测试,直接关闭一台master节点,一台etcd(etcd复用了master机器),一台worker节点,此时集群为一主一从再次访问服务,可以发现服务依然可用;

添加一个master
# 向集群名为k8s的集群中添加一台master
ezctl add-master k8s 192.168.88.25
其它ezctl指令
# 帮助
[root@centos7 kubeasz]# ezctl help
Usage: ezctl COMMAND [args]
-------------------------------------------------------------------------------------
Cluster setups:
    list		             to list all of the managed clusters
    显示集群
    checkout    <cluster>            to switch default kubeconfig of the cluster
    切换集群
    new         <cluster>            to start a new k8s deploy with name 'cluster'
    创建新集群
    setup       <cluster>  <step>    to setup a cluster, also supporting a step-by-step way
    执行集群的操作
    start       <cluster>            to start all of the k8s services stopped by 'ezctl stop'
    启动该所有被停止的k8s 服务
    stop        <cluster>            to stop all of the k8s services temporarily
    停止所有的k8s服务
    upgrade     <cluster>            to upgrade the k8s cluster
    升级
    destroy     <cluster>            to destroy the k8s cluster
    销毁
    backup      <cluster>            to backup the cluster state (etcd snapshot)
    备份etcd
    restore     <cluster>            to restore the cluster state from backups
    回复etcd
    start-aio		             to quickly setup an all-in-one cluster with 'default' settings
    使用默认设置all-in-one部署集群

Cluster ops:
    add-etcd    <cluster>  <ip>      to add a etcd-node to the etcd cluster
    添加etcd数据库
    add-master  <cluster>  <ip>      to add a master node to the k8s cluster
    添加master
    add-node    <cluster>  <ip>      to add a work node to the k8s cluster
    添加worker node
    del-etcd    <cluster>  <ip>      to delete a etcd-node from the etcd cluster
    删除etcd
    del-master  <cluster>  <ip>      to delete a master node from the k8s cluster
    删除master
    del-node    <cluster>  <ip>      to delete a work node from the k8s cluster
    删除worker node

Extra operation:
    kcfg-adm    <cluster>  <args>    to manage client kubeconfig of the k8s cluster
    管理k8s集群的配置

Use "ezctl help <command>" for more information about a given command.
[root@centos7 kubeasz]#