03、Spring Cloud Config 配置中心(二)
本篇文章讲解 Config 如何实现配置中心自动刷新。
配置中心自动刷新
点击链接观看:配置中心自动刷新视频
Spring Cloud Config 在项目启动时才会加载配置内容这一机制,导致了它存在一个缺陷,修改配置文件内容后,不会自动刷新。例如我们之前的项目,当服务已经启动的时候,修改 Github 上的配置文件内容,这时候,再次刷新页面,对不起,还是旧的配置内容,新内容不会主动刷新过来。
访问:http://localhost:9090/name 结果如下:
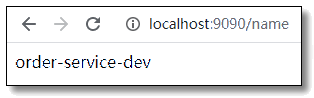
重启Config Client 以后,访问:http://localhost:9090/name 结果如下:

但是,总不能每次修改了配置后重启服务吧。如果是那样的话,还是不要用它为好,直接用本地配置文件岂不更快。
它提供了一个刷新机制,但是需要我们主动触发。那就是 @RefreshScope 注解并结合 Actuator,注意要引入 spring-boot-starter-actuator。
添加依赖
Config Client 添加 spring-boot-starter-actuator 依赖。
<!-- spring boot actuator 依赖 -->
<dependency>
    <groupId>org.springframework.boot</groupId>
    <artifactId>spring-boot-starter-actuator</artifactId>
</dependency>
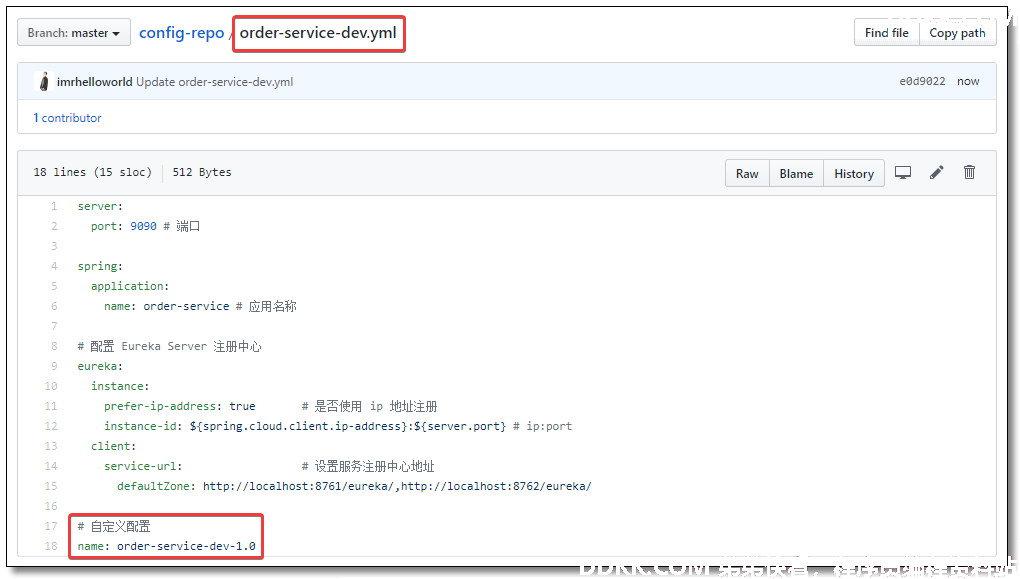
配置文件
其实这里主要用到的是 refresh 这个端点。以下为 Config Client 的 bootstrap.yml
spring:
  cloud:
    config:
      name: order-service 配置文件名称,对应 git 仓库中配置文件前半部分
      uri: http://localhost:8888 config-server 服务端地址
      label: master git 分支
      profile: dev 指定环境
      discovery:
        enabled: true 开启
        service-id: config-server 指定配置中心服务端的 service-id

# 度量指标监控与健康检查
management:
  endpoints:
    web:
      base-path: /actuator    访问端点根路径,默认为 /actuator
      exposure:
        include: '*'          需要开启的端点,这里主要用到的是 refresh 这个端点
       exclude:             不需要开启的端点
控制层
在需要读取配置的类上增加 @RefreshScope 注解。
package com.example.controller;

import org.springframework.beans.factory.annotation.Value;
import org.springframework.cloud.context.config.annotation.RefreshScope;
import org.springframework.web.bind.annotation.GetMapping;
import org.springframework.web.bind.annotation.RestController;

@RefreshScope
@RestController
public class ConfigController {


    @Value("${name}")
    private String name;

    @GetMapping("/name")
    public String getName() {


        return name;
    }

}
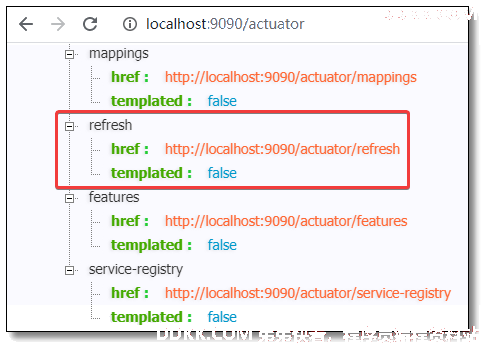
测试
重启Config Client,访问:http://localhost:9090/actuator 可以看到 refresh 端点已开启。
修改Github 上的配置文件内容并提交,访问:http://localhost:9090/name,没有反应,不慌。
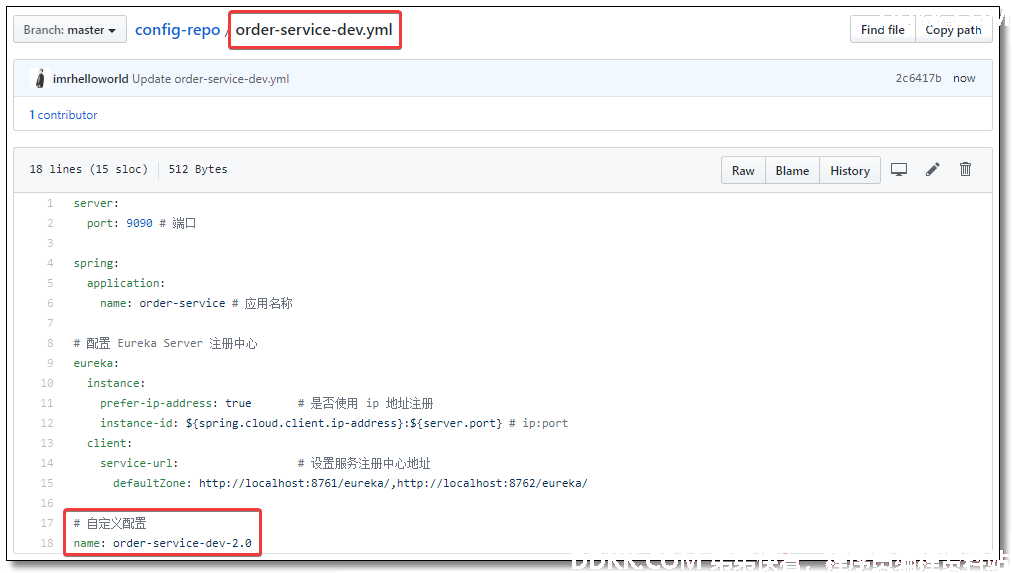
接下来,我们发送 POST 请求到 http://localhost:9090/actuator/refresh 这个接口,用 Postman 之类的工具即可。
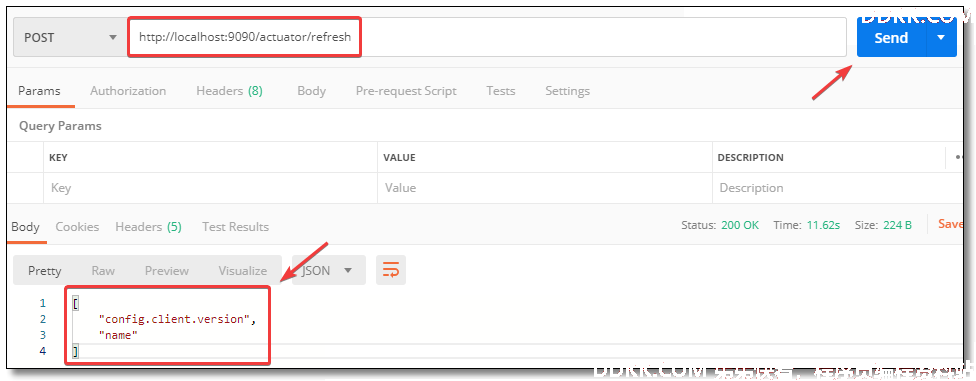
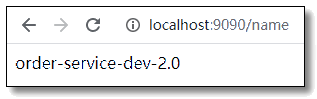
再次访问:http://localhost:9090/name 结果如下:
在 Github 中配置 Webhook
这就结束了吗,并没有,总不能每次改了配置后,就用 Postman 访问一下 refresh 接口吧,还是不够方便呀。
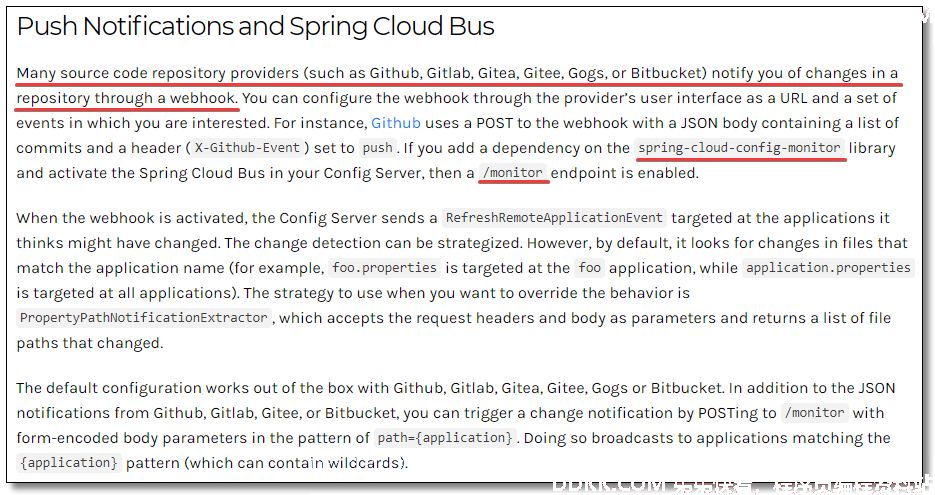
Github 提供了一种 Webhook 的方式,当有代码变更的时候,会调用我们设置的地址,来实现我们想达到的目的。
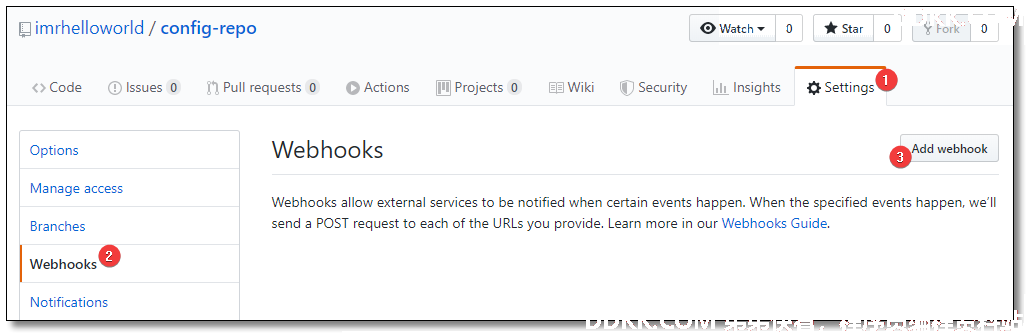
进入Github 仓库配置页面,选择 Webhooks ,并点击 Add webhook。
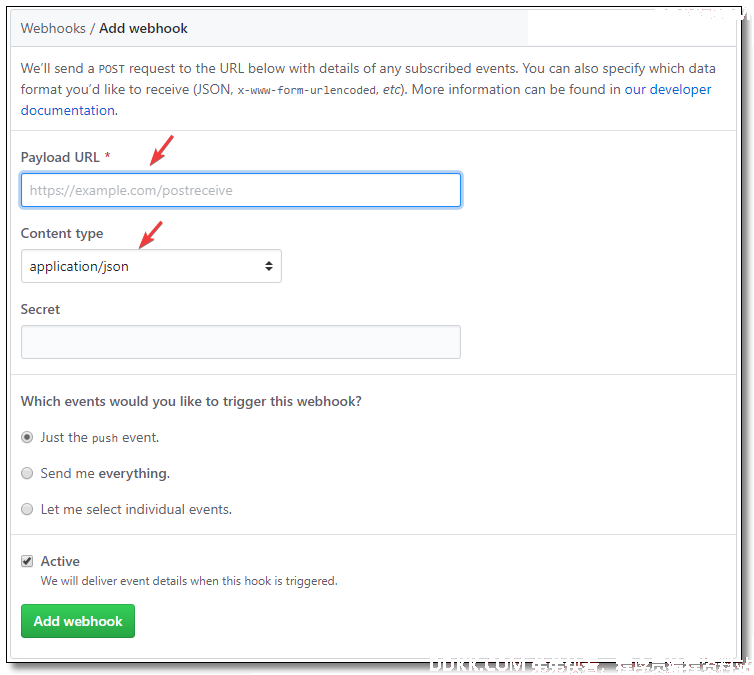
填写回调的地址,也就是上面提到的 actuator/refresh 这个地址,但是必须保证这个地址是可以被 Github 访问的。如果是内网就没办法了。一般公司内的项目都会有自己的代码管理工具,例如自建的 gitlab,gitlab 也有 webhook 的功能,这样就可以调用到内网的地址了。
还有一种办法就是使用 spring-cloud-config-monitor,然后调用 /monitor 接口完成动态刷新。
Spring Cloud Bus 自动刷新
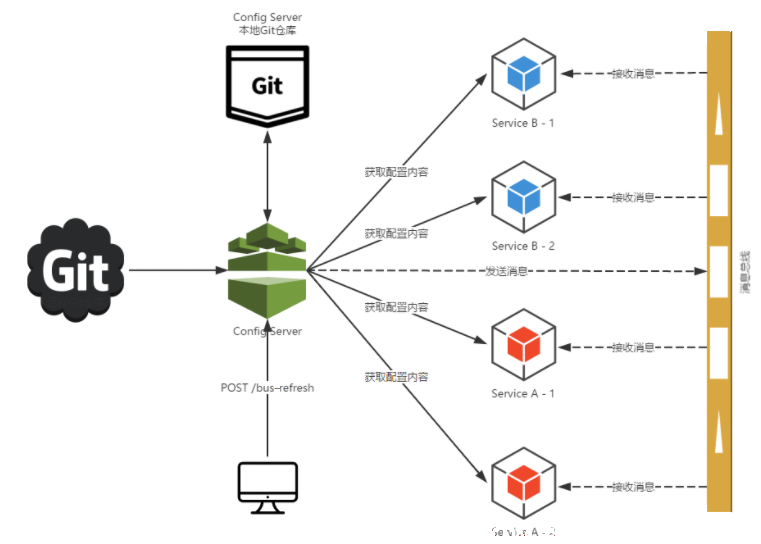
如果只有一个 Config Client 的话,那我们用 Webhook,设置手动刷新都不算太费事,但是如果客户端比较多的情况下,一个一个去手动刷新未免有点复杂。我们可以借助 Spring Cloud Bus 的广播功能,让 Config Client 都订阅配置更新事件,当配置更新时,触发其中一个端的更新事件,Spring Cloud Bus 就把此事件广播到其他订阅客户端,以此来达到批量更新。
版权声明:「DDKK.COM 弟弟快看,程序员编程资料站」本站文章,版权归原作者所有