24、SpringCloud Alibaba Sentinel(3)搭建客户端

刚才我们搭建了 sentinel-dashboard,我们还需要搭建一个客户端,用于测试 sentinel 的各种功能
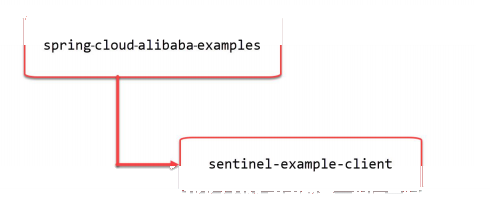
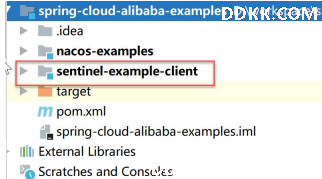
我们将搭建如图所示的 Maven 项目结构:
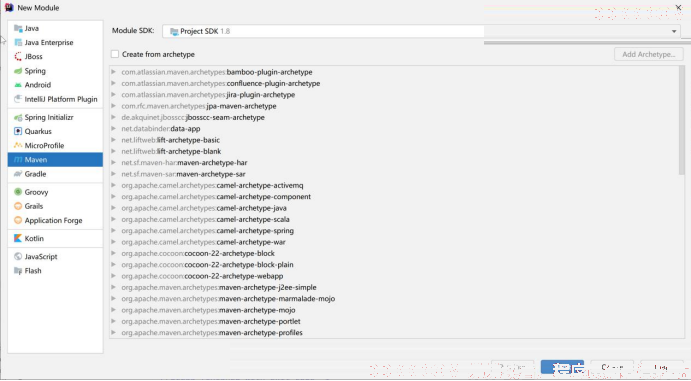
1.使用 IDEA 创建子模块

选择 Maven 项目:
点击 Next:
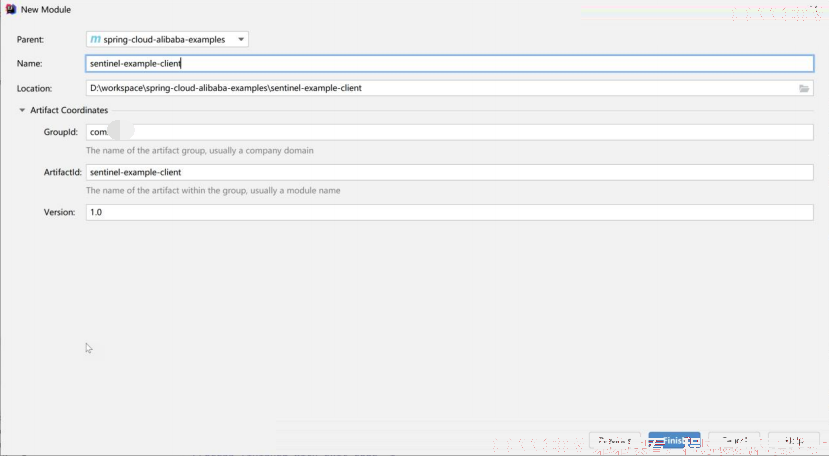
- Parent:选择 spring-cloud-alibaba-examples
- Name:命名为 sentinel-example-client
- 其他的项保持默认值即可。
- 点击 Finish 完成创建。
2.添加依赖
- 修改 sentinel-example-client 里面的 pom.xml 文件:
- 添加以下的内容:
<dependencies>
	<dependency>
		<groupId>org.springframework.boot</groupId>
		<artifactId>spring-boot-starter-web</artifactId>
	</dependency>
	<dependency>
		<groupId>com.alibaba.cloud</groupId>
		<artifactId>spring-cloud-starter-alibaba-sentinel</artifactId>
	</dependency>
</dependencies>
有2 个依赖:
- spring-cloud-starter-alibaba-sentinel 这是 spring cloud 和 sentinel 集成的项目
- spring-boot-starter-web 开启 web 最基础的依赖
- 添加 spring boot 的打包插件:
<build>
	<plugins>
		<plugin>
			<groupId>org.springframework.boot</groupId>
			<artifactId>spring-boot-maven-plugin</artifactId>
		</plugin>
	</plugins>
</build>
这样,我们的项目打包好了后,可以使用 java -jar 来直接运行了
3.完整的 pom.xml
<?xml version="1.0" encoding="UTF-8"?>
<project xmlns="http://maven.apache.org/POM/4.0.0"
	xmlns:xsi="http://www.w3.org/2001/XMLSchema-instance"
	xsi:schemaLocation="http://maven.apache.org/POM/4.0.0
	http://maven.apache.org/xsd/maven-4.0.0.xsd">
	<parent>
		<artifactId>spring-cloud-alibaba-examples</artifactId>
		<groupId>com.dqcgm</groupId>
		<version>1.0</version>
	</parent>
	<modelVersion>4.0.0</modelVersion>

	<artifactId>sentinel-example-client</artifactId>

	<dependencies>
		<dependency>
			<groupId>org.springframework.boot</groupId>
			<artifactId>spring-boot-starter-web</artifactId>
		</dependency>
		<dependency>
			<groupId>com.alibaba.cloud</groupId>
			<artifactId>spring-cloud-starter-alibaba-sentinel</artifactId>
		</dependency>
	</dependencies>

	<build>
		<plugins>
			<plugin>
				<groupId>org.springframework.boot</groupId>
				<artifactId>spring-boot-maven-plugin</artifactId>
			</plugin>
		</plugins>
	</build>
</project>
4.添加一个配置文件

命名为:

修改该配置文件,添加以下的配置:
server:
	port: 8085
spring:
	application:
		name: sentinel-client
	cloud:
		sentinel:
			transport:
				dashboard: localhost:8080
				port: 8719
其中:
- spring.cloud.sentinel.transport.dashboard 指定了 sentinel 控制台的 ip 和端口地址;
- spring.cloud.sentinel.transport.port 代表 sentinel 客户端和控制台通信的端口,默认为 8719,如果这个端口已经被占用,那么 sentinel 会自动从 8719 开始依次+1 扫描,直到找到未被占用的端口
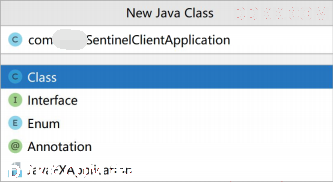
5.添加一个启动类
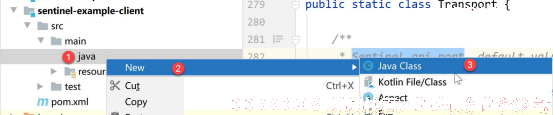
名称为:com.dqcgm.SentinelClientApplication
添加如下的代码:
@SpringBootApplication
public class SentinelClientApplication {


	public static void main(String[] args) {


		SpringApplication.run(SentinelClientApplication.class ,args) ;
	}
}
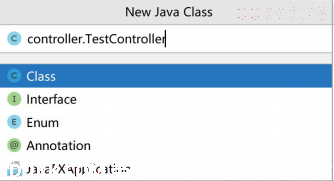
6.添加一个 Controller

名称为:controller.TestController
在 TestContrller 里面添加如下接口:
@RestController
public class TestController {


	@GetMapping("/hello")
	public ResponseEntity<String> hello(){


		return ResponseEntity.ok("hello,sentinel") ;
	}
}
7.启动项目
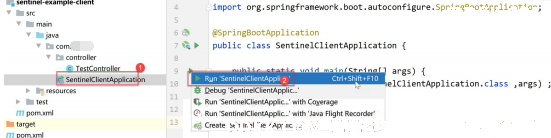
在浏览器访问:
http://localhost:8080/#/dashboard/home
出现:
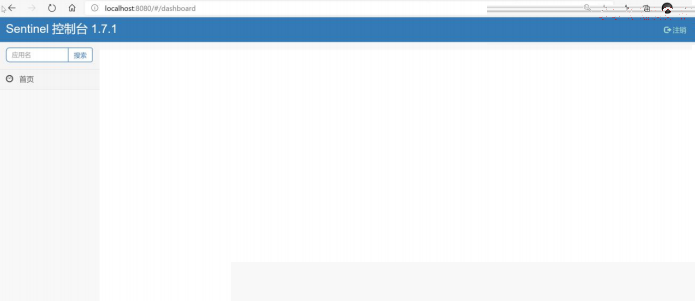
- 发现并没有任何的功能
- 此时,我们访问一下我们写的 hello 接口:
http://localhost:8085/hello
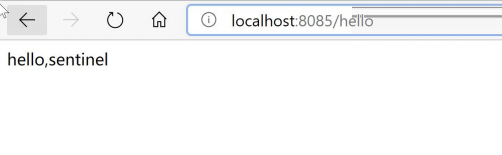
- 多访问几次。
- 再次访问:
http://localhost:8080/#/dashboard/home
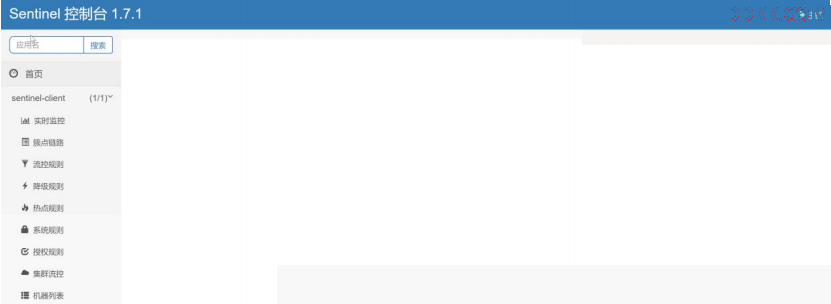
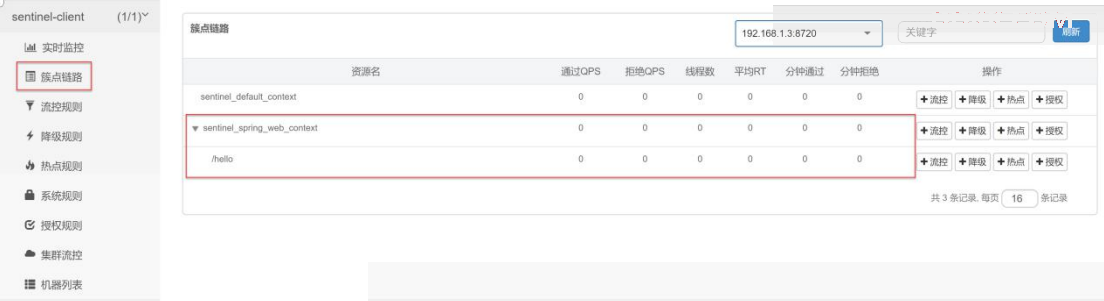
- 控制台已经显示正常了
- 并且,在簇点链路中可以看到刚刚那笔请求,我们可以对它进行流控、降级、授权、热点等配置(控制台是懒加载的,如果没有任何请求,那么控制台也不会有任何内容)