28、Netty 源码解析 - Protobuf使用步骤
1、Idea 安装 protobuf Support
1、Idea 版本 :2019.3.3
2、下载地址:protobuf-jetbrains-plugin
3、解压下载文件到目录:D:\install\java\idea\plugins(自行修改)
4、重启Idea即可
常见问题:
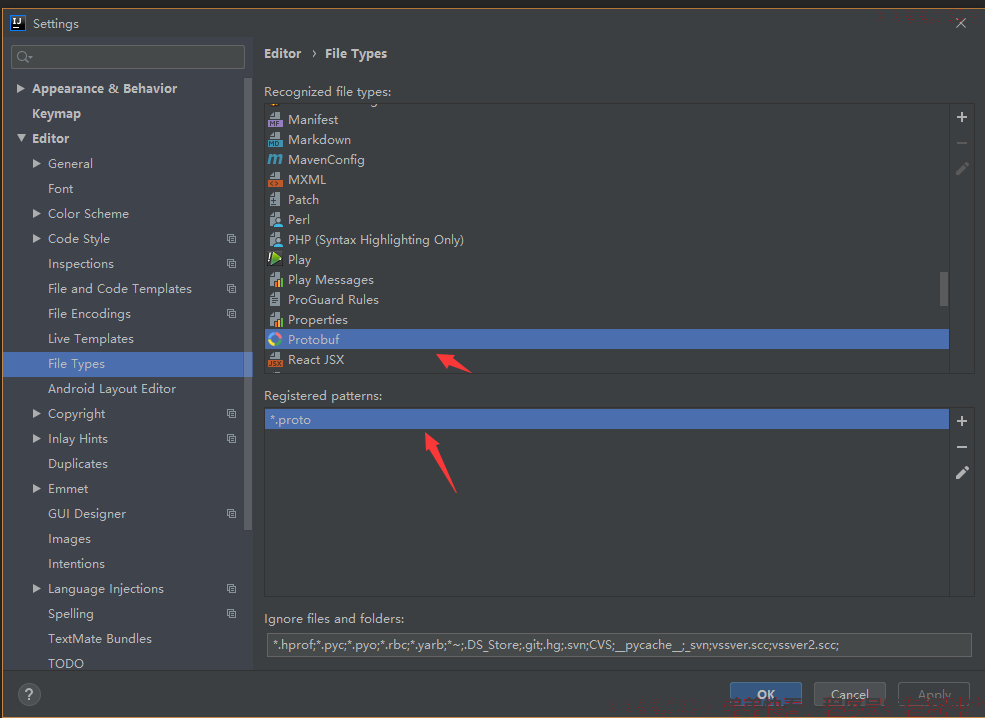
1、 Idea不识别.proto文件?;
依次打开Settings->Editor->File Types,显示效果如下:
2、加入 Protobuf 依赖
在Maven 项目中引入 Protobuf 依赖,下载相关的 jar 包,在 pom.xml 中加入:
<!--protobuf-->
<dependency>
	<groupId>com.google.protobuf</groupId>
	<artifactId>protobuf-java</artifactId>
	<version>3.6.1</version>
</dependency>
3、创建 Student.proto 文件
syntax = "proto3"; // 版本
option java_outer_classname = "StudentPOJO"; // 生成的外部类名,同时也是文件名
// protobuf 是以 message 的形式管理数据
message Student { // 会在 StudentPOJO 外部类生成一个内部类 Student,它是真正发送的 POJO 对象
    int32 i = 1; // Student 类中有一个属性,名字为 id,类型为 int32(protobuf类型),1表示属性序号,不是值
    string name = 2;
}
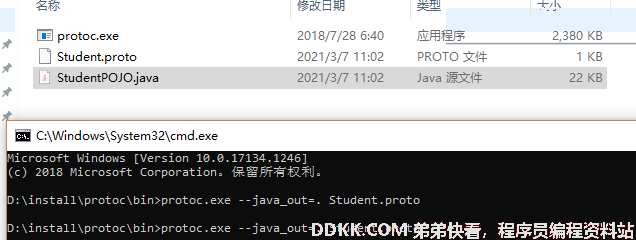
4、protoc.exe 使用
1、下载地址:protoc.exe
2、将创建的 Student.proto 复制到 protoc 的 bin 目录下
3、执行以下命令:
protoc.exe --java_out=. Student.proto
4、命令执行完毕后,效果: