09、Kafka 实战 - 项目中使用 Kafka 整合 Flume
一、启动 Kafka
kafka-server-start.sh /opt/soft/kafka211/config/server.properties
二、创建 Topic 消息队列
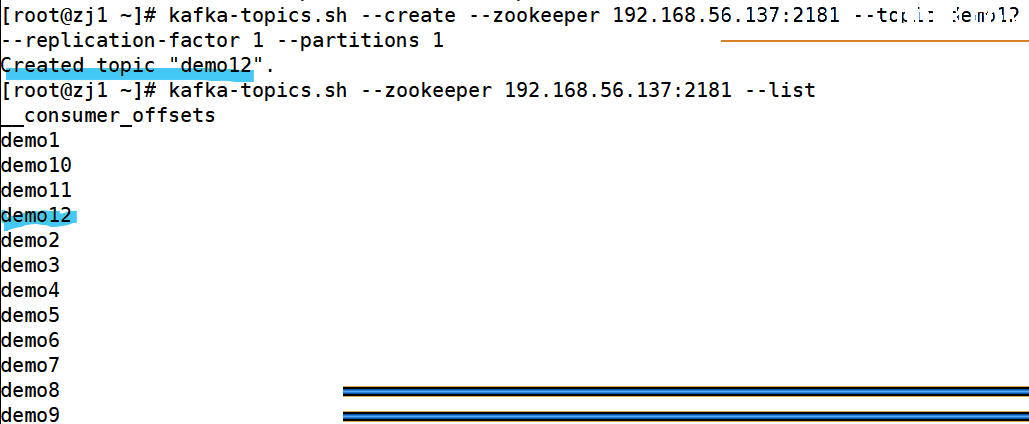
kafka-topics.sh --create --zookeeper 192.168.56.137:2181 --topic demo12 --replication-factor 1 --partitions 1
三、查询 kafka 消息队列
kafka-topics.sh --zookeeper 192.168.56.137:2181 --list
做完前三步,我们可以看下结果大致如下:
四、启动 consumer 监控窗口
kafka-console-consumer.sh --bootstrap-server 192.168.56.137:9092 --topic demo3 --from-beginning
五、写 Flume 自定义配置文件
这里的路径是:/opt/soft/flumconf
a7.sources=r7
a7.sinks=k7
a7.channels=c7

a7.sources.r7.type=spooldir
a7.sources.r7.spoolDir=/opt/soft/data/user_friends
a7.sources.r7.deserializer.maxLineLength=150000
a7.sources.r7.interceptors=f1
a7.sources.r7.interceptors.f1.type=regex_filter
a7.sources.r7.interceptors.f1.regex=^(\\s*user\\s*,\\s*friends\\s*)$
a7.sources.r7.interceptors.f1.excludeEvents=true

a7.sinks.k7.type=org.apache.flume.sink.kafka.KafkaSink
a7.sinks.k7.topic=demo13
a7.sinks.k7.kafka.bootstrap.servers=192.168.56.137:9092
a7.sinks.k7.serializer.class=kafka.serializer.StringEncoder

a7.channels.c7.type=memory
a7.channels.c7.capacity=1000
a7.channels.c7.transactionCapacity=100

a7.sources.r7.channels=c7
a7.sinks.k7.channel=c7
这是CSV 数据源的路径,如下:

六、开启 Flume
flume-ng agent -n a6 -c conf -f /opt/soft/flumeconf/demo5.properties
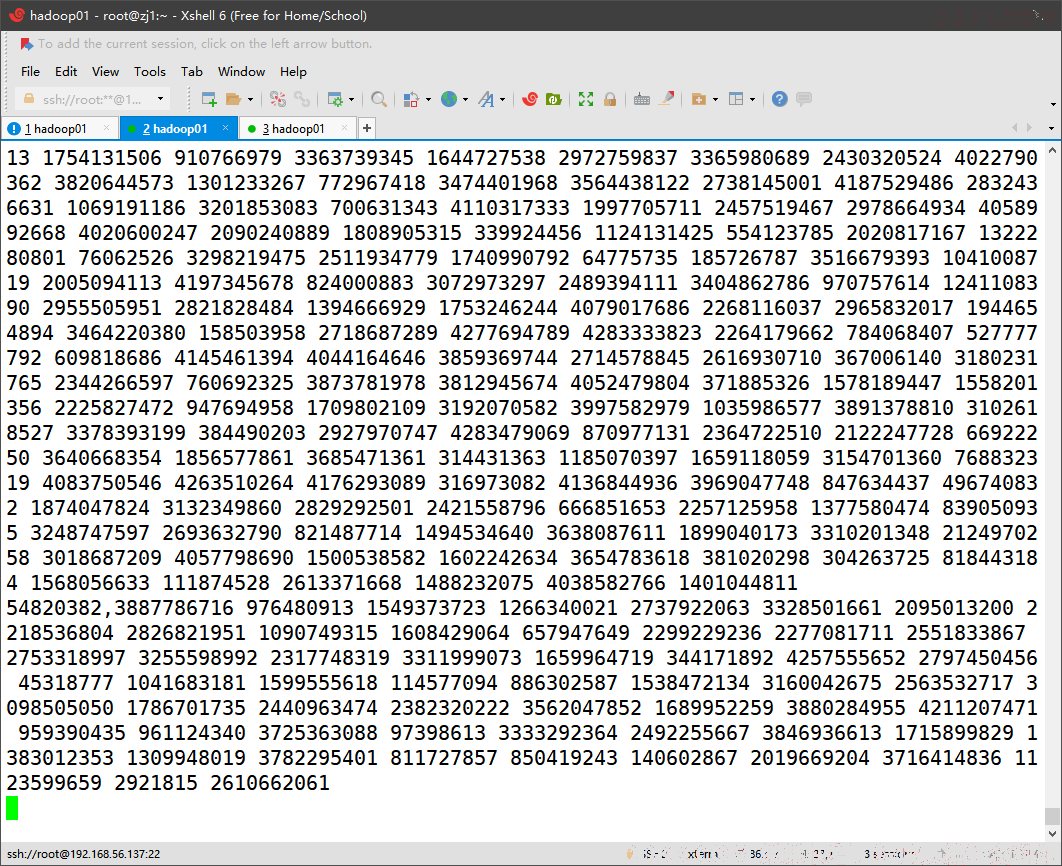
此时我们会发现监控窗口那里开始有csv文件的数据
七、结果分析
用下面的重置命令,可以将消息队列的指针重置到开头
kafka-run-class.sh kafka.tools.GetOffsetShell --topic demo3 --time -1 --broker-list 192.168.56.137:9092 --partitions 0
需要注意的是:
-1 指针移动到开头的位置
-2 指针移动到尾部
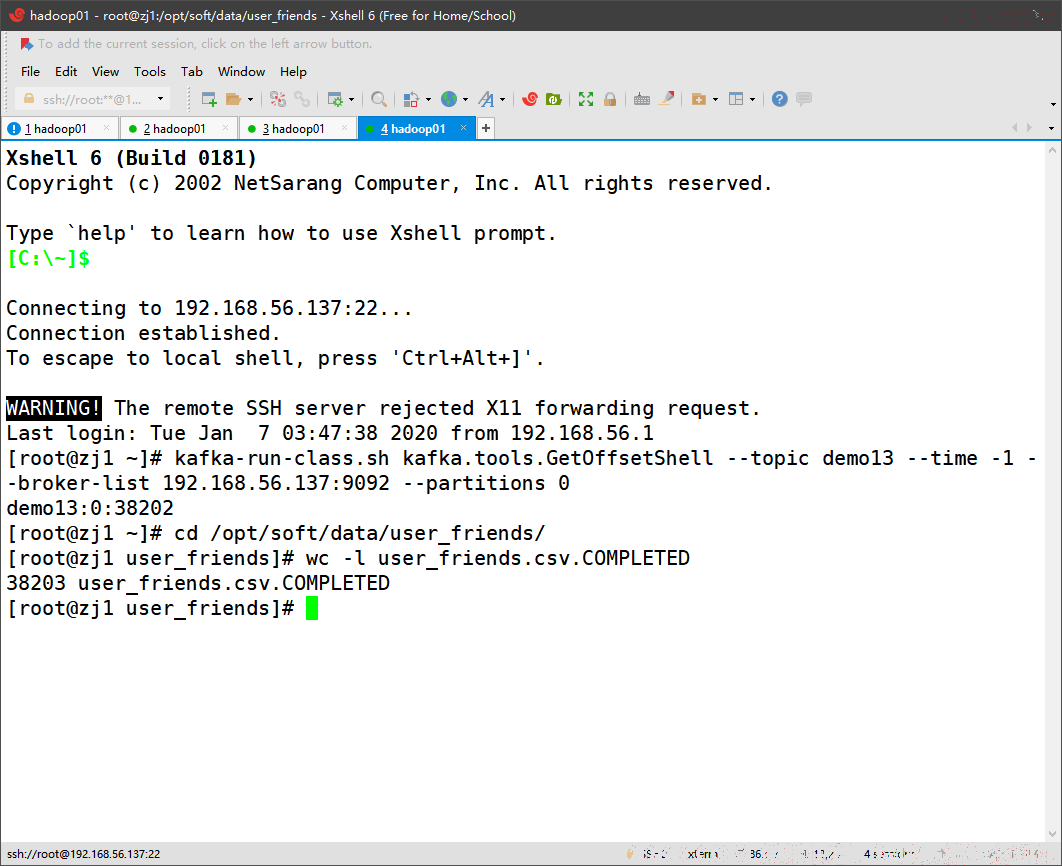
首先我们查看了数据源的数据,发下有38203条数据,再通过kafka 消息重置命令 查询,发现只有 38202 条数据,说明我们在flume 自定义配置文件中成功完成对数据源表头的去除,并成功将数据导入到kafka消息队列中。