01、SpringCloud Alibaba - 环境搭建
前言
Spring Cloud Alibaba 致力于提供微服务开发的一站式解决方案。此项目包含开发分布式应用微服务的必需组件,方便开发者通过 Spring Cloud 编程模型轻松使用这些组件来开发分布式应用服务。
依托Spring Cloud Alibaba,您只需要添加一些注解和少量配置,就可以将 Spring Cloud 应用接入阿里微服务解决方案,通过阿里中间件来迅速搭建分布式应用系统。
五大组件选择:
1、 服务注册中心Nacos;
2、 服务负载均衡Openfeign;
3、 服务熔断降级sentinel;
4、 服务网关组件Gateway;
5、 统一配置中心组件Nacos;
一、安装nacos
下载: nacos-server-2.0.4.tar.gz
解压:tar -zxvf nacos-server-2.0.4.tar.gz
启动:进入解压出来的 nacos/bin/ 目录,执行 ./startup.sh -m standalone
访问:访问8848默认端口,http://172.16.10.159:8848/nacos
输入用户名密码 nacos/nacos
二、服务提供者
1、引入依赖
springboot版本使用较低一些的 2.4.13,
spring-cloud-dependencies 版本使用 2020.0.5,
nacos-discovery 版本使用 2021.1
<parent>
		<groupId>org.springframework.boot</groupId>
		<artifactId>spring-boot-starter-parent</artifactId>
		<version>2.4.13</version>
</parent>

<dependencies>
		<dependency>
			<groupId>org.springframework.boot</groupId>
			<artifactId>spring-boot-starter</artifactId>
		</dependency>

		<!-- https://mvnrepository.com/artifact/org.springframework.cloud/spring-cloud-dependencies -->
		<dependency>
			<groupId>org.springframework.cloud</groupId>
			<artifactId>spring-cloud-dependencies</artifactId>
			<version>2020.0.5</version>
			<type>pom</type>
<!--			<scope>runtime</scope>-->
		</dependency>
		<!-- https://mvnrepository.com/artifact/com.alibaba.cloud/spring-cloud-starter-alibaba-nacos-discovery -->
		<dependency>
			<groupId>com.alibaba.cloud</groupId>
			<artifactId>spring-cloud-starter-alibaba-nacos-discovery</artifactId>
			<version>2021.1</version>
		</dependency>

		<dependency>
			<groupId>org.springframework.boot</groupId>
			<artifactId>spring-boot-starter-web</artifactId>
		</dependency>
	</dependencies>
2、配置文件
#指定端口
server.port=9000
#指定服务名称
spring.application.name=server
#指定nacas地址
spring.cloud.nacos.discovery.server-addr=172.16.10.159:8848
3、创建服务接口
@RestController
@RequestMapping("/server")
public class ServerController {


    @GetMapping("/test/{id}")
    public Object test(@PathVariable String id) {


        Map map = new HashMap();
        map.put("server", id);
        return map;
    }
}
三、服务消费者
1、引入依赖
在服务提供者依赖的基础上,加入 openfeign 和 loadbalancer 依赖
<parent>
		<groupId>org.springframework.boot</groupId>
		<artifactId>spring-boot-starter-parent</artifactId>
		<version>2.4.13</version>
</parent>

<dependencies>
		<dependency>
			<groupId>org.springframework.boot</groupId>
			<artifactId>spring-boot-starter</artifactId>
		</dependency>

		<!-- https://mvnrepository.com/artifact/org.springframework.cloud/spring-cloud-dependencies -->
		<dependency>
			<groupId>org.springframework.cloud</groupId>
			<artifactId>spring-cloud-dependencies</artifactId>
			<version>2020.0.5</version>
			<type>pom</type>
<!--			<scope>runtime</scope>-->
		</dependency>
		<!-- https://mvnrepository.com/artifact/com.alibaba.cloud/spring-cloud-starter-alibaba-nacos-discovery -->
		<dependency>
			<groupId>com.alibaba.cloud</groupId>
			<artifactId>spring-cloud-starter-alibaba-nacos-discovery</artifactId>
			<version>2021.1</version>
		</dependency>

		<dependency>
			<groupId>org.springframework.boot</groupId>
			<artifactId>spring-boot-starter-web</artifactId>
		</dependency>
		<!-- https://mvnrepository.com/artifact/org.springframework.cloud/spring-cloud-starter-openfeign -->
		<dependency>
			<groupId>org.springframework.cloud</groupId>
			<artifactId>spring-cloud-starter-openfeign</artifactId>
			<version>3.0.0</version>
		</dependency>
		<!-- https://mvnrepository.com/artifact/org.springframework.cloud/spring-cloud-starter-loadbalancer -->
		<dependency>
			<groupId>org.springframework.cloud</groupId>
			<artifactId>spring-cloud-starter-loadbalancer</artifactId>
			<version>3.0.0</version>
		</dependency>
	</dependencies>
2、配置文件
#指定端口
server.port=9001
#指定服务名称
spring.application.name=client
#指定nacas地址
spring.cloud.nacos.discovery.server-addr=172.16.10.159:8848
3、启动类
加上注解@EnableFeignClients
@SpringBootApplication
@EnableFeignClients
public class CloudApplication {


	public static void main(String[] args) {


		SpringApplication.run(CloudApplication.class, args);
		System.out.println("started...");
	}

}
4、创建服务api接口
用@FeignClient 注解标识,value = “server” 表示要访问的服务提供者的名称是server
@FeignClient(value = "server")
@Component
public interface ServerApi {


    @GetMapping("/server/test/{id}")
    Map test(@PathVariable String id);
}
5、客户端接口
@RestController
@RequestMapping("/client")
public class ClientController {


    @Autowired
    private ServerApi serverApi;

    @GetMapping("/test/{id}")
    public Map test(@PathVariable String id){


        return serverApi.test(id);
    }
}
四、测试
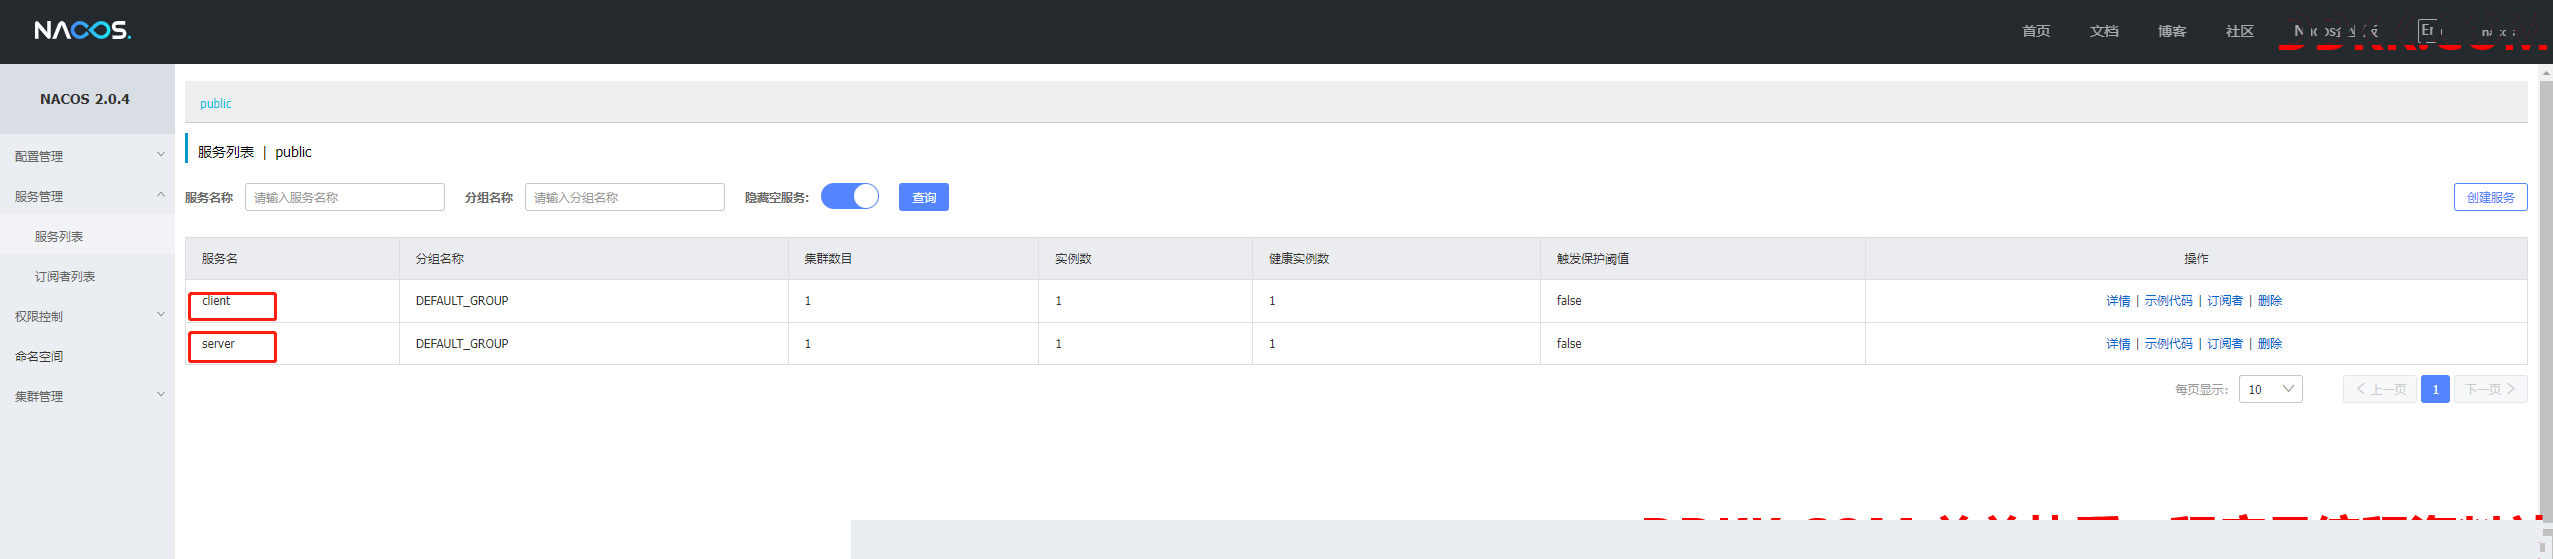
1、查看nacos
启动服务提供者和服务消费者,查看服务注册
2、访问服务消费者接口
访问:
http://192.168.100.73:9001/client/test/100
结果:
{


    "server": "100"
}